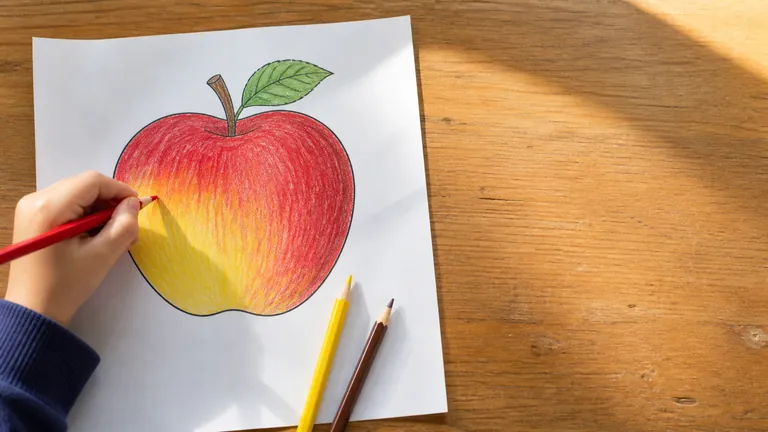
One apple page. A red pencil, a yellow one, a brown one. That is the whole kit for this guide, and it covers every coloring technique a child between five and eight is ready to try.
Most lists of coloring techniques for kids hand over eight tricks at once. This one gives you five, in the order a small hand can take them, and your child practises all of them on the same apple. By the end, one page shows the whole way from a flat red circle to an apple that looks round.
Why the order matters
Every technique here asks a little more of the fingers than the one before. Children first hold a pencil in their fist at around one to one and a half, then grip it with all their fingers at two to three, and only then move to a tripod grip, as the NHS children's therapy team in Dorset describes it. The moving version of that grip, where the fingers steer the pencil and the arm stays still, usually settles somewhere between four and seven.
That moving grip is what the later techniques need. Edges and even strokes work as soon as the tripod grip shows up. Blending and shading need small, light, repeated finger movements, so they come last. Teach them in that order and each one feels possible.
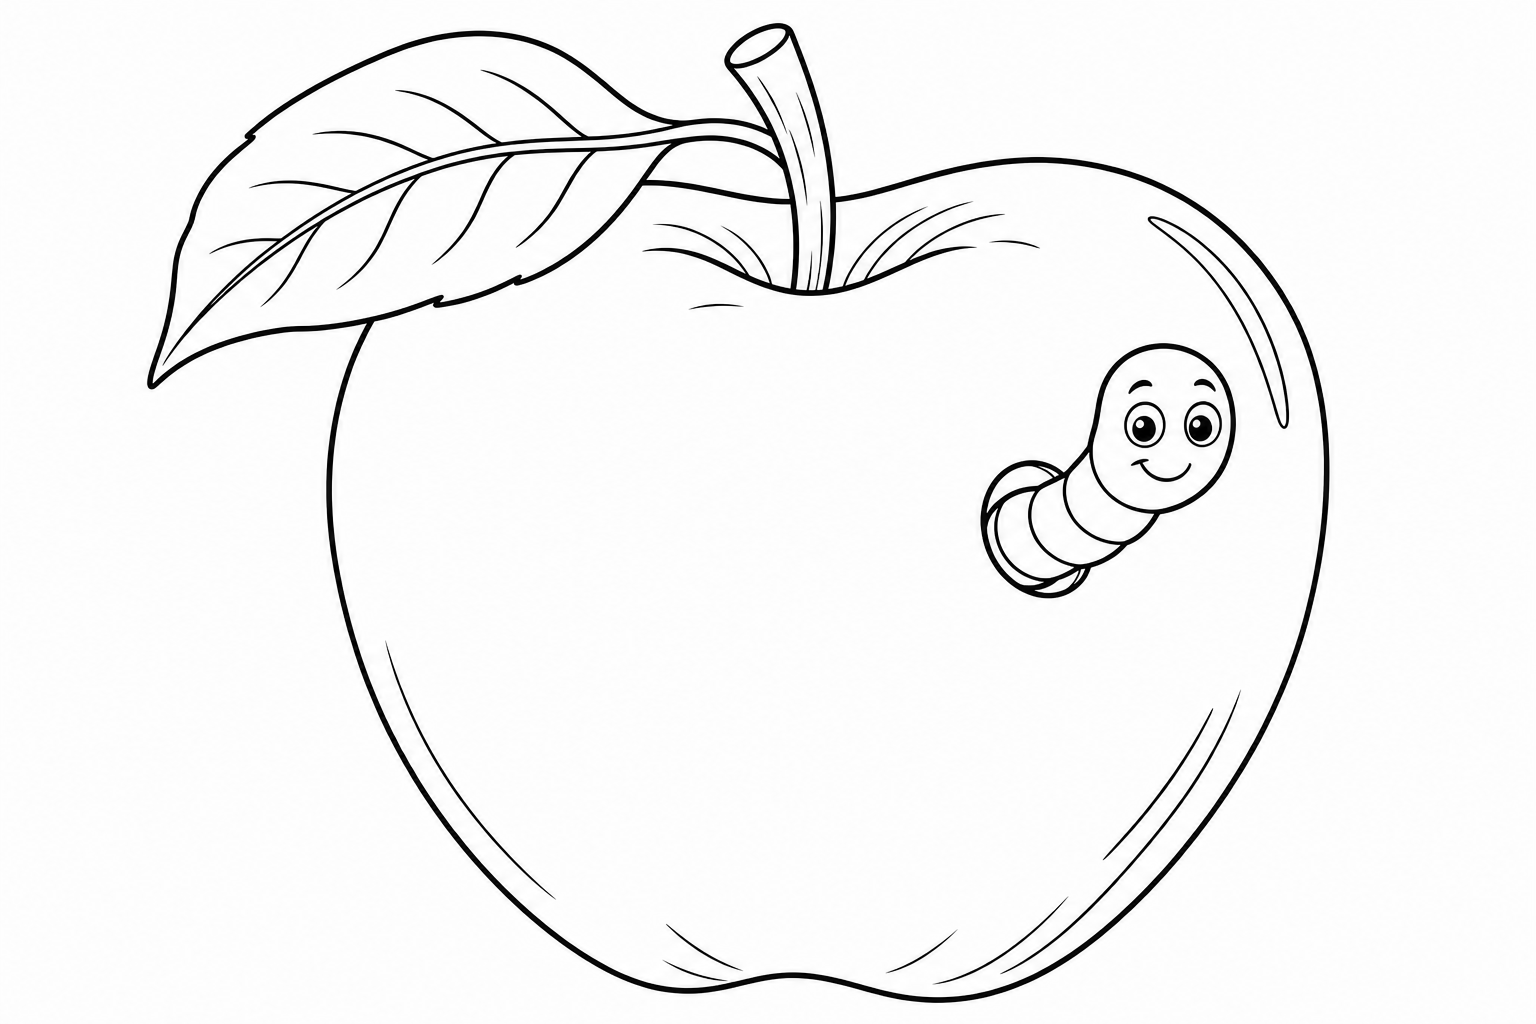
Five techniques on one apple
- 1Edges first. Go once around the inside of the outline with the pencil tip, slowly, then fill the middle. The border does the hard part, and the fill gets to be relaxed. The full method, and how to help without holding the pencil yourself, is in our guide to coloring inside the lines.
- 2Strokes that all go one way. Short strokes in a single direction, with the same light pressure, turn the apple into one smooth skin. Scribbles in every direction leave white specks and a fuzzy edge.
- 3One color on top of another. Yellow first, lightly, over the whole apple. Then red over the left two thirds. Where they overlap, the paper shows an orange that never came out of a pencil. Color mixing for kids explains why three colors are enough to make most of the others.
- 4Blend the join. The line where red stops and yellow starts is still visible. Small overlapping circles with both pencils, back and forth across that line, melt it until nobody can say where one color ends. How to blend colors walks through the circles in more detail.
- 5Light to dark. Pick the side of the apple that faces away from the window. Add a few more layers of red there, then a touch of brown right at the edge. The apple turns from a disc into a ball. Shading with colored pencils takes this further for older kids.



Coloring fun for kids — anywhere.
Free for iOS & Android. No ads, no sign-up, offline-ready.


Coloring fun for kids — anywhere.
Free coloring app for kids. iOS and Android, phones and tablets. No ads, no sign-up, even offline.
Which technique at which age
| Technique | Usually within reach | What you will notice |
|---|---|---|
| Edges first | around 5 | A neat border, a middle that still wanders |
| One-way strokes | 5 to 6 | Fewer white gaps, a calmer surface |
| Layering two colors | 5 to 7 | Surprise at the new color, then mixing on purpose |
| Blending | 6 to 8 | Patience for small circles, a join that disappears |
| Light to dark | 7 and up | Apples, balls and faces start to look round |
The first row matches what occupational therapists see: around five, most children color inside the lines fairly well. The later rows are our own reading of how much finger control each technique asks for. A six-year-old who blends happily is right on time, and so is a nine-year-old who still prefers flat color.
Three habits that stall progress
The first is teaching all five in one sitting. Pick one technique a week, and let the rest of the page be colored any way your child likes.
The second is pressing hard from the very first stroke. Heavy pressure squashes wax into the grain of the paper, and after that it is hard to add more color on top. Light layers first, firm pressure only at the very end.
The third is the kind one, and the one parents fall into most.
A finished page stays finished. The practice happens on the next one.
Practice on three pages
Each of these pages suits one technique. The pumpkin's ridges are ready-made bands for light to dark: darker in the grooves, lighter on the bulges. The striped balloon has panels with clear edges, good for edge work and for layering two colors side by side. The ginkgo leaf fans out from its stem, so it can blend from green at the stem to yellow at the rim.
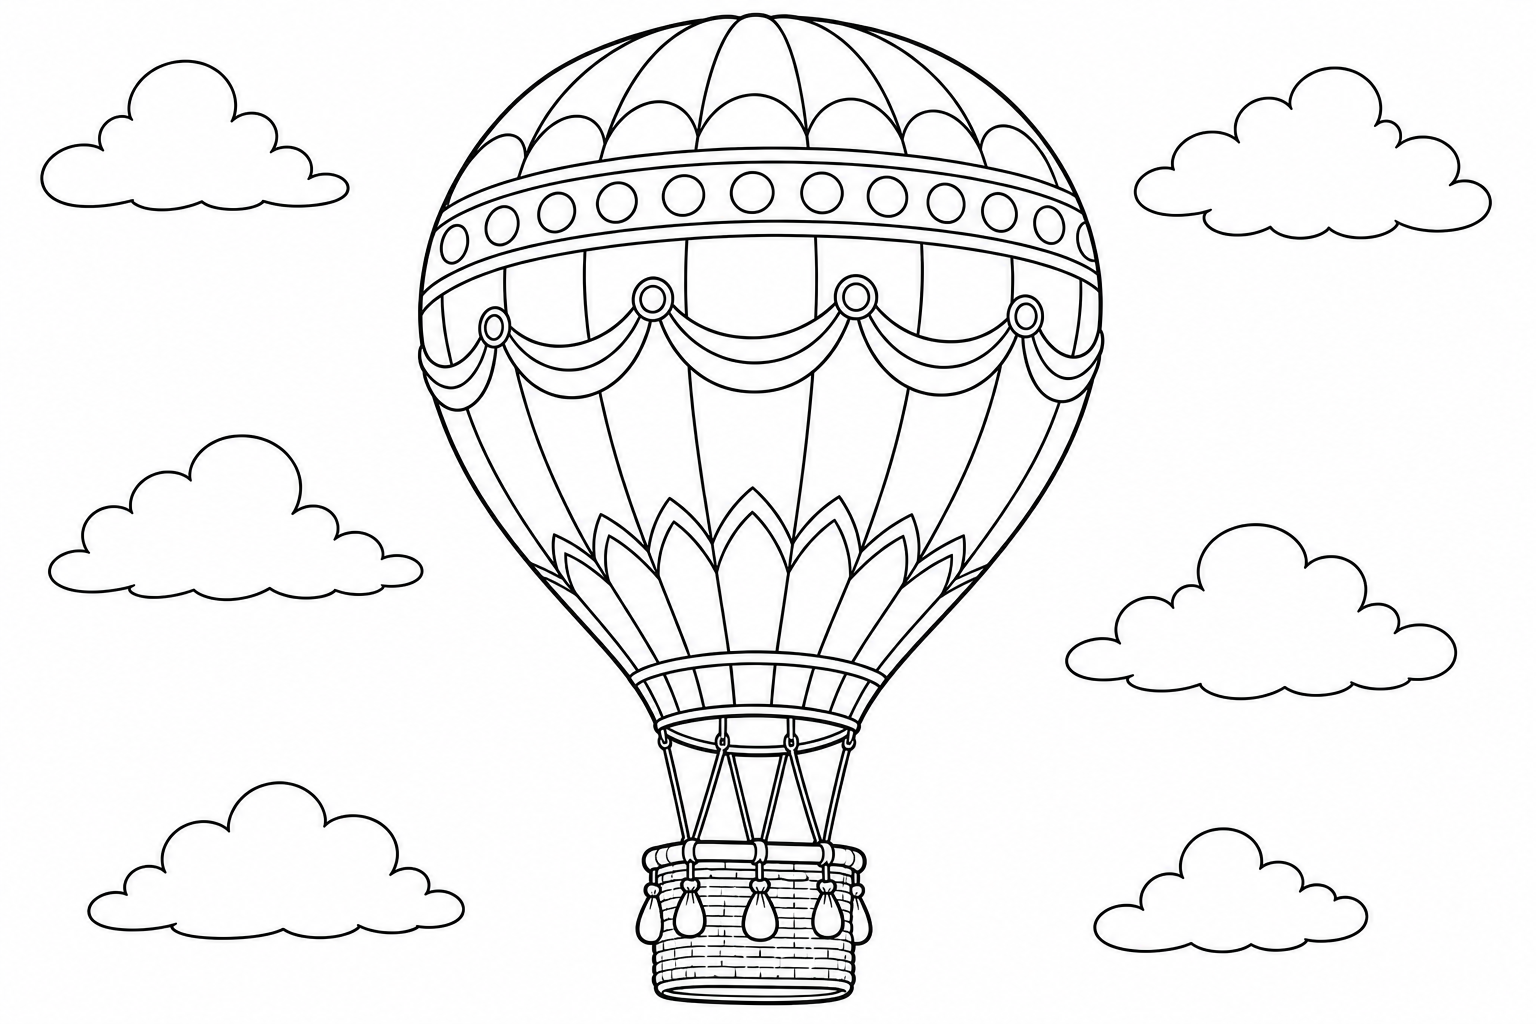
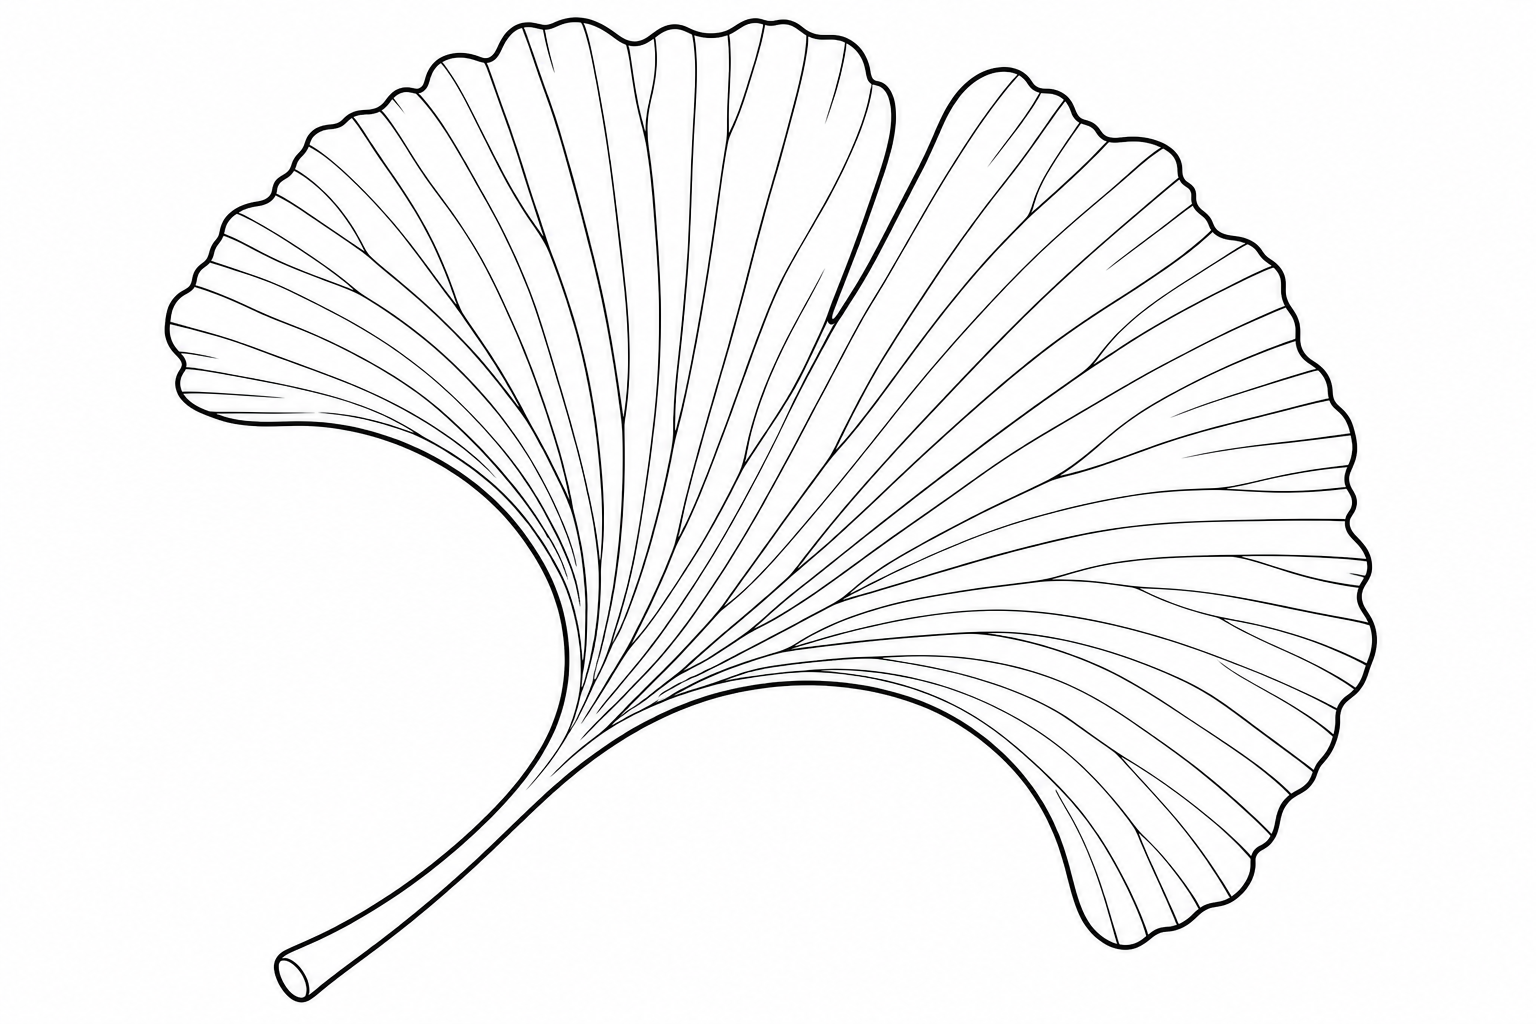
When one of these starts to feel easy, look for another page with a big, open shape.
What else could you color?
Pick a prompt or type your own — opens in a new tab.
Where to go from here
If you are not sure which of the five your child is ready for, our guide to coloring by age describes what each stage looks like, from the first scribbles to tween detail work. And if the pencil pot holds only stubs and dried-out markers, crayons, markers or colored pencils helps you choose. The five techniques above are all shown with colored pencils, and that guide explains when a crayon or a marker is the better pick.