You do not need a better crayon. The stripy sky your four-year-old just handed you, pale lines with white gaps and a dark knot wherever the crayon turned, comes from three things: the grip, the stroke and the tip. All three can change this afternoon, with a crayon you already own.
This is a how-to for one job only: filling a big space evenly. It sits inside the wider order of coloring techniques small hands are ready for, and it is usually the first one a preschooler can actually learn.
Why big areas come out stripy
At around three, many children hold a crayon in the whole fist and steer it with the whole arm, shoulder included. Between three and five most of them move toward holding it with the fingers, which gives control in small spaces (CliniKids, The Kids Research Institute Australia). That finger grip is good news for the outline of a balloon and hard work inside it.
So the child does what makes sense: quick strokes back and forth with the very tip. Each stroke is a thin line. The paper between two lines stays white, and at every turn the crayon pauses and presses, which leaves a dark blob. Multiply that by a whole sky and you get stripes.
Nothing here is a sign of a problem. The children's occupational therapists at Aneurin Bevan University Health Board note that young children usually move the pencil with whole arm movements and that chunkier tools can help. The fix is a tool that turns that big arm movement into a wide band of color.
What you need
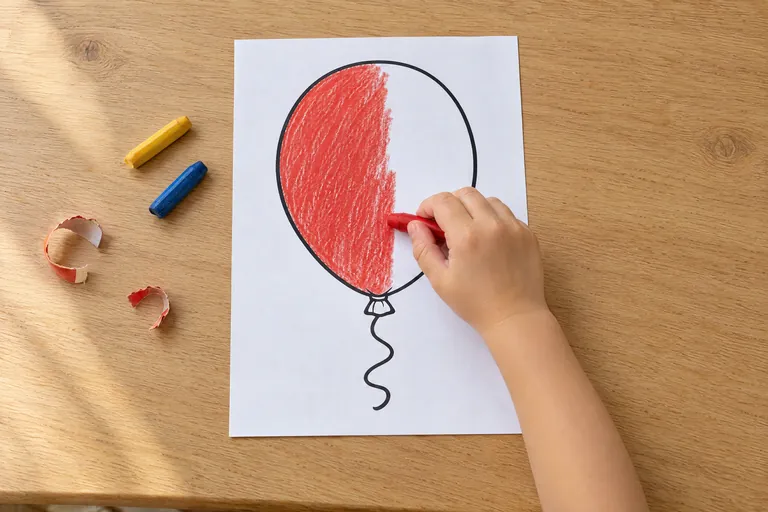
- One crayon about as long as your child's thumb, with the paper peeled off. A broken one is perfect: short pieces nudge small fingers toward the fingertips, the same CliniKids page says.
- A page with one big shape and a thick outline. The three at the end of this guide are chosen for that.
- A hard, smooth table under the sheet. A tablecloth or a placemat prints its own bumps through the paper.
- Ten minutes, and if you have it, a second crayon in a lighter shade of the same color.



Coloring fun for kids — anywhere.
Free for iOS & Android. No ads, no sign-up, offline-ready.


Coloring fun for kids — anywhere.
Free coloring app for kids. iOS and Android, phones and tablets. No ads, no sign-up, even offline.
Four steps to an even balloon
- 1Lay the crayon on its side. Hold the short, peeled crayon flat between thumb and fingers so its long edge touches the paper. One stroke now covers a band as wide as the crayon is long.
- 2Build a fence first. With the tip, go slowly once around the inside of the outline. This thin border is the only careful part, and it means the big strokes that follow can be fast without running over the line.
- 3Fill in one direction, lightly. Side to side, every stroke going the same way, each one overlapping the last by about half. Light pressure, the way you would stroke a sleeping cat.
- 4Add a second coat crosswise. Go over the same space again at a right angle, a little firmer this time. The second layer fills the tiny white specks the grain of the paper left behind.
The finished balloon will still show crayon texture, and that is how crayon on paper looks. If your child wants the two shades to melt together afterwards, that is a separate skill, and blending two colors into one picks up exactly there.
The mistakes that bring the stripes back
- Pressing hard from the first stroke. Wax piles up, the surface turns shiny, and the second coat slides straight over the gaps it was meant to fill. Light first, firm last.
- A new crayon halfway through. Two crayons of the "same" red rarely match, and the line where one stops shows. Finish the area with the stub you started with.
- Markers on a big space. A marker stroke starts drying at once, and where a wet stroke crosses a dry one a darker line appears. For big areas, crayons are the kinder tool at this age; the guide to the best coloring tools for each age explains when markers make sense.
- Taking over the crayon to show how. Show it once on your own sheet, then hand it back. The same rule holds for edges, as the guide to coloring inside the lines without taking over explains.
Three pages with big spaces to practise on
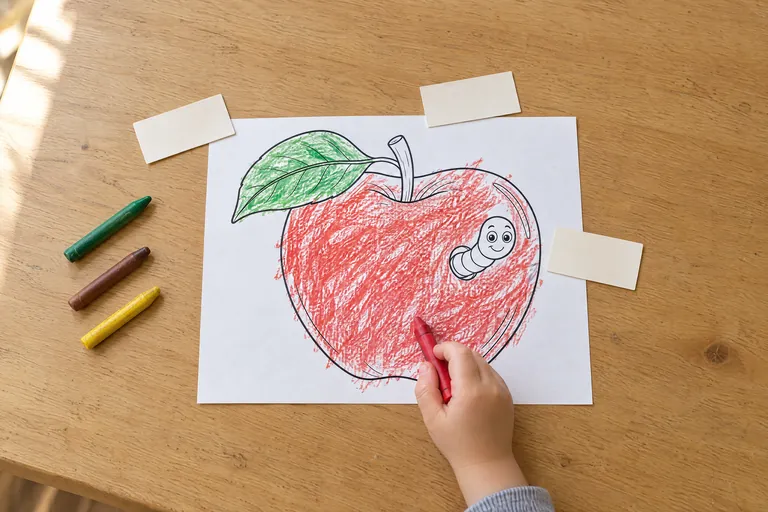
These three are sorted from one space to several. The balloon is a single shape and nothing else, the apple adds one leaf and a small worm to go around, and the pumpkin has broad ribs that each make a big area of their own.
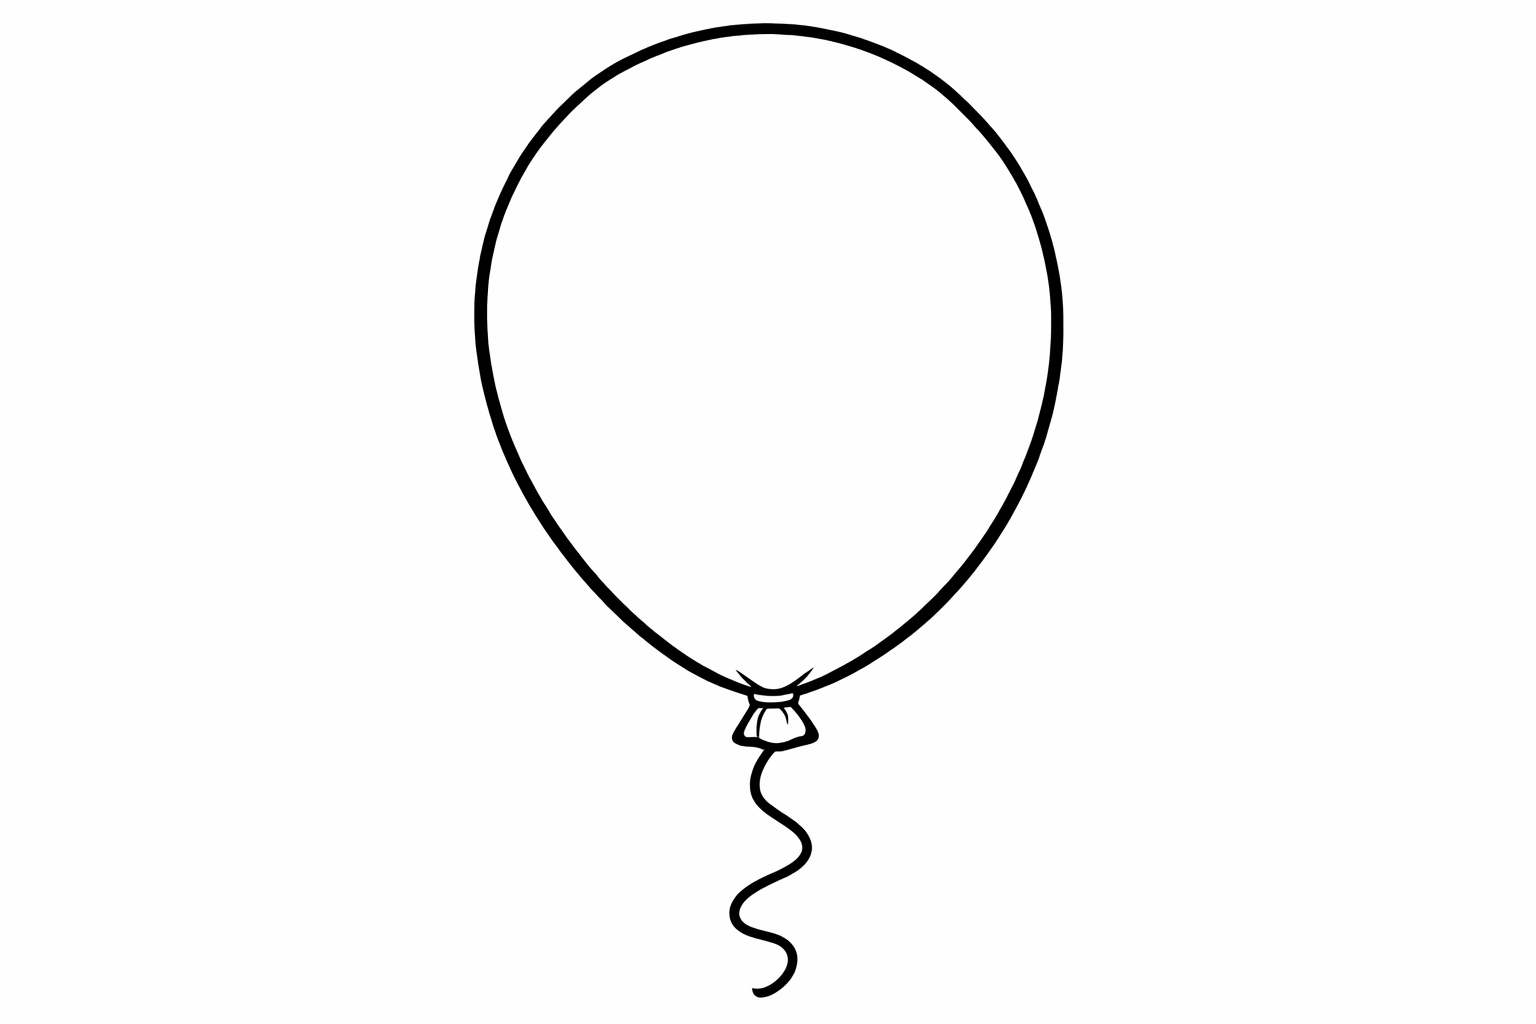
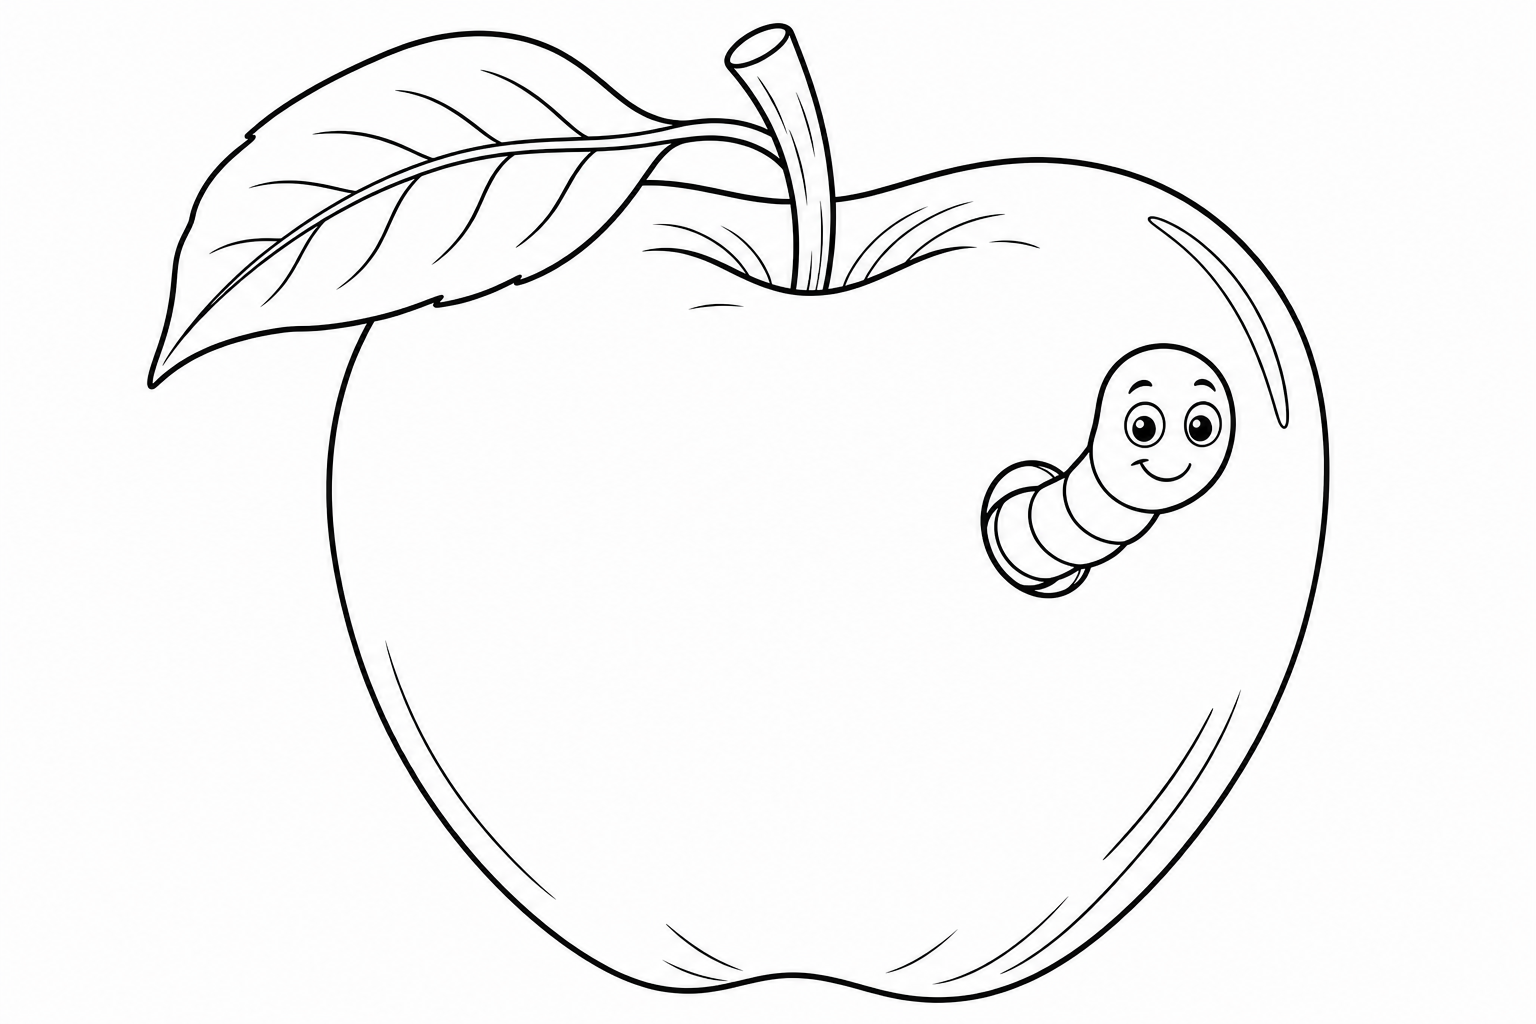
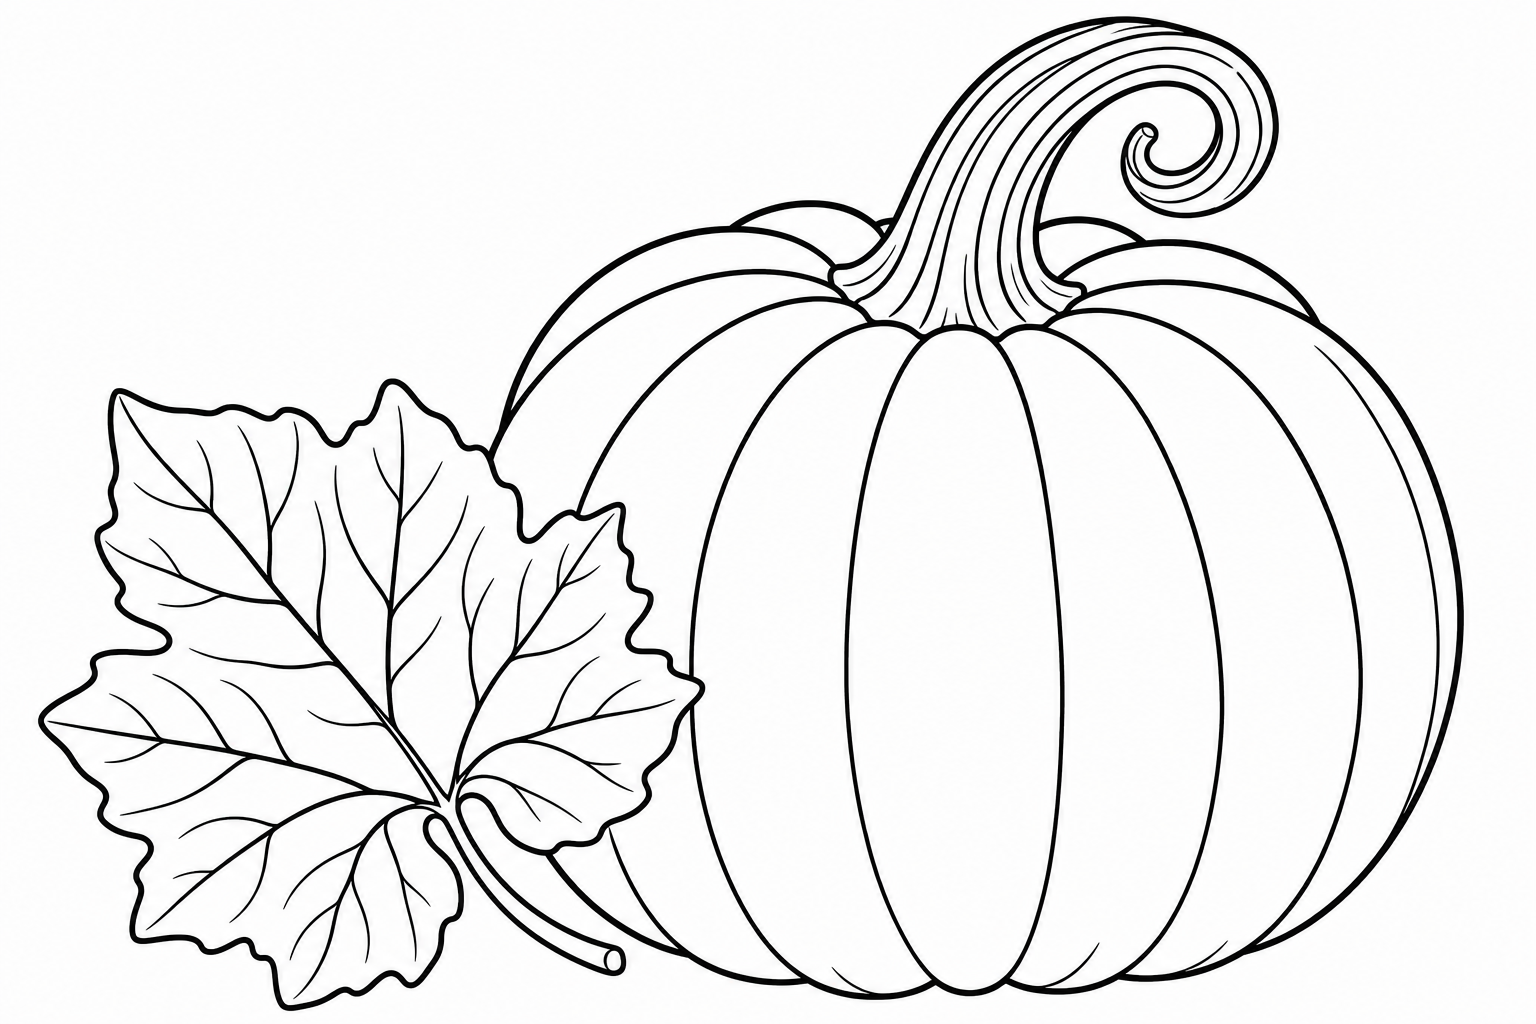
Start with the balloon even if your child is sure the pumpkin is easy. One even balloon teaches the side stroke better than three stripy pumpkins. If you want more shapes with wide, open spaces, these searches are a good place to look.
What else could you color?
Pick a prompt or type your own — opens in a new tab.
Next time, change one thing
Next time, swap the brand-new crayon for the shortest stub at the bottom of the box, and let your child peel it. The stub decides the grip on its own, so you do not have to say anything about fingers, and the first wide band of color across the balloon usually does the convincing. After a week of stubs, most children reach for one without being asked.