Around nine or ten, a lot of kids hit a wall with coloring: the page is neat, the colors stay inside the lines, and the picture still looks flat. The dragon looks like a sticker. The fix is not better pencils or a fancier page. It is shading, and you can learn the whole trick in an afternoon with the pencil box you already own.
This guide talks to you, the one holding the pencil. Nothing below needs to be bought and nothing needs permission, just twenty minutes and one page you don't mind experimenting on.
What you'll need
- Colored pencils. Any set, including the half-used school box.
- One coloring page with big, simple shapes. Save the detailed stuff for later.
- Scrap paper for warming up.
- A sharpener, because a blunt tip fights you on light layers.
Pencils give you the finest control over pressure, which is why this guide leads with them, but crayons can shade too and get their own section below. If you are weighing the tools themselves, our crayons vs markers vs colored pencils comparison goes deeper.
First, learn your pressure scale
Here is the secret most people never notice: one colored pencil is at least three different colors, and what changes is how hard you press.
| Pressure | What it gives you |
|---|---|
| Whisper | Barely touching the paper. A pale, almost see-through wash. |
| Medium | Normal writing pressure. The color printed on the pencil's side. |
| Full press | As hard as you comfortably can. The darkest, shiniest version of the color. |
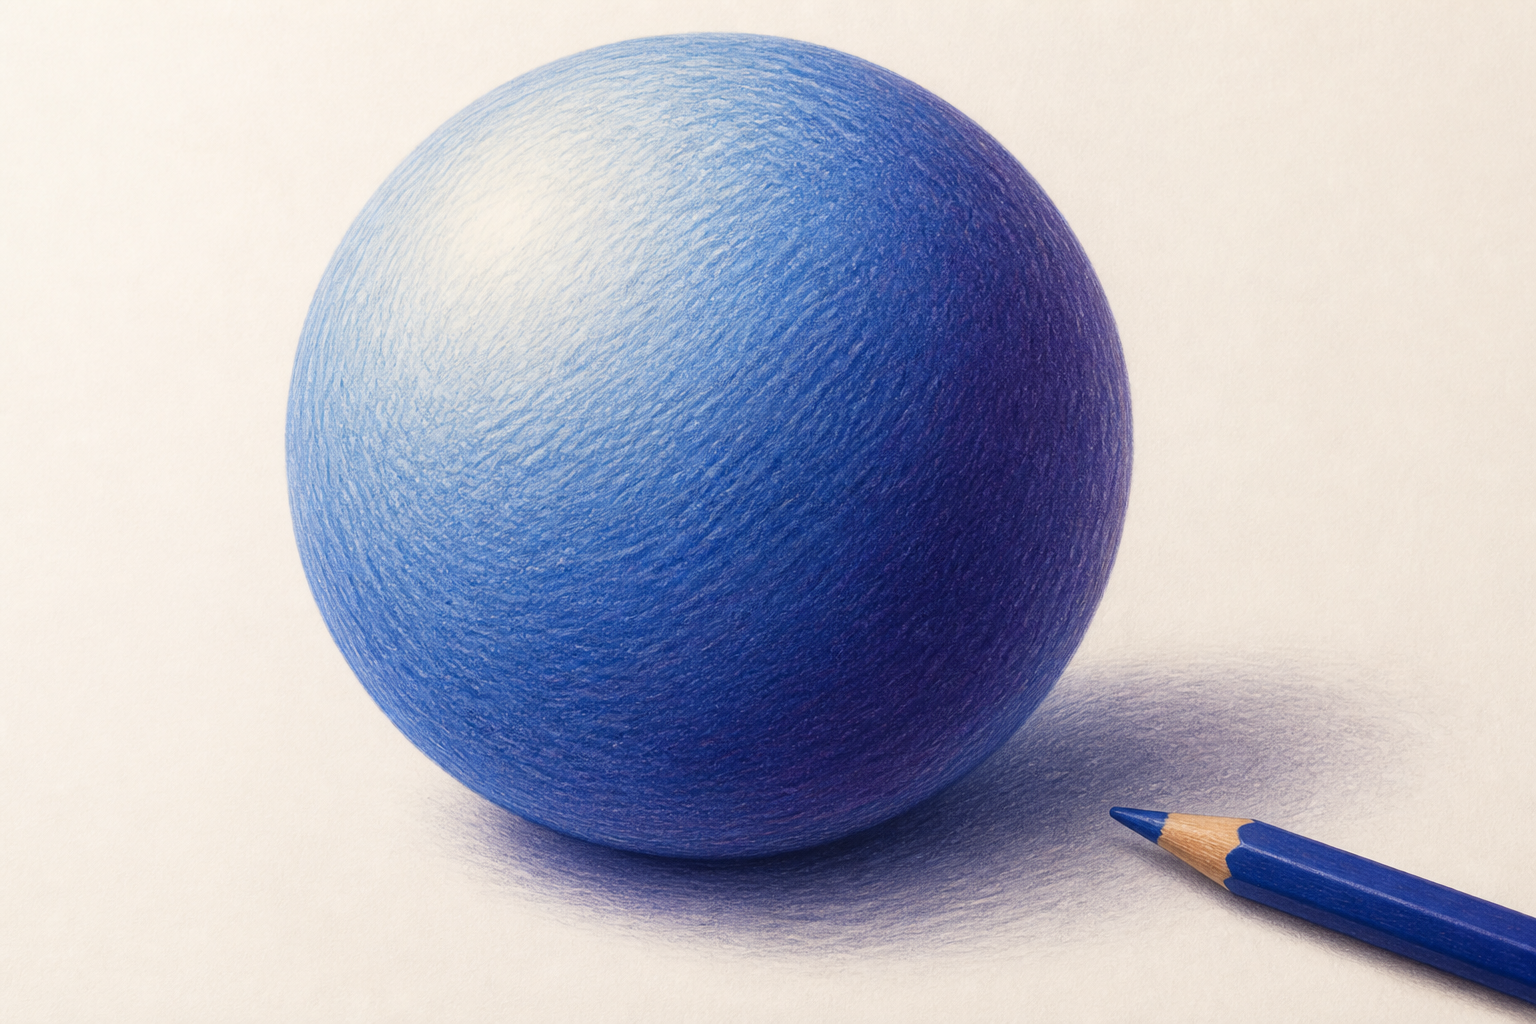
Warm up on scrap paper before touching your page. Draw a long box and fill it from one end to the other, starting at whisper and ending at full press, so the color slides from pale to dark without stripes. That smooth slide is called a gradient, and building values from light to dark like this is the same drill artists use, as in this colored pencil shading walkthrough. Holding the pencil slightly sideways helps, because more of the tip touches the paper and the color goes down smoother.
The five steps to a shaded shape
Pick one big shape on your page: a dragon's belly, a dinosaur's leg, a single ring of a mandala. Then work through these in order.
- 1Decide where the light comes from. Pick one corner of the page, imagine a lamp hanging there, and stick with it. Everything facing the lamp stays light. Everything facing away goes dark.
- 2Lay a whisper layer over the whole shape. Sideways pencil, lightest touch. This is the base coat everything else sits on.
- 3Darken the far side in layers. Go over the side facing away from your lamp at whisper pressure again, then again, each pass stopping a little short of the last. Stacked light layers build depth that a single hard pass never matches.
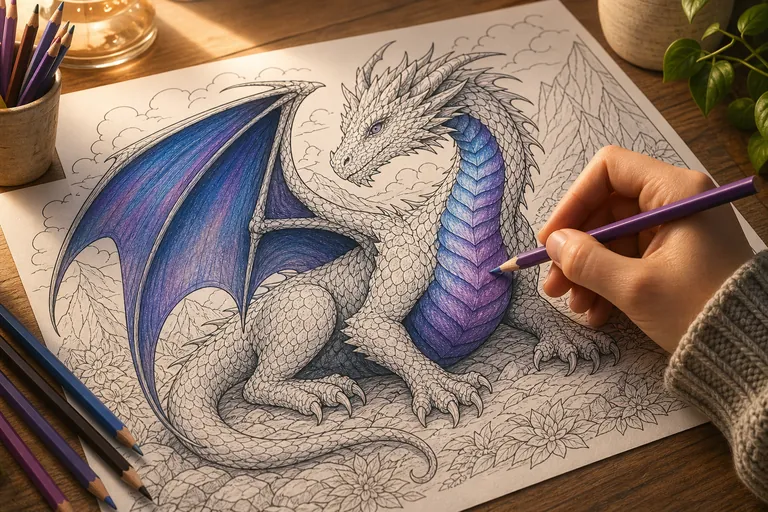
- 4Shade with a color, not with black. Black on top of another color usually turns to mud. Try dark blue, purple, or indigo over your main color instead; the shading tips at Pencils.com recommend exactly those because they make richer shadows than black ever does.
- 5Burnish to finish. Take your lightest pencil, white or cream, and go over the whole shape firmly. It melts the layers together so the surface looks smooth instead of scratchy.


Coloring fun for kids — anywhere.
Free for iOS & Android. No ads, no sign-up, offline-ready.
Coloring fun for kids — anywhere.
Free coloring app for kids. iOS and Android, phones and tablets. No ads, no sign-up, even offline.
Common mistakes, and what they look like
The shadow with a hard edge. If the dark side ends in a visible line, the shape reads as striped instead of round. Blend the border with a whisper layer of the same color until you cannot tell where light turns into dark.
Two light sources. Shading both sides of a shape makes it look dented. If a shape suddenly looks wrong, check back to step one: where was your lamp?
Going dark too fast. One heavy pass at full press and the shape looks bruised rather than shaded. There is no undo at full press, so keep the early layers light.
If all you have is crayons
Crayons shade too, they just do it louder. The pressure scale works exactly the same way, and so does layering, only chunkier. Two things change: the paper's texture shows through more, which can look great on big shapes, and burnishing works best with a white crayon pressed firmly over the top. Do not expect pencil-smooth gradients. Expect something closer to a painting, and lean into it.
Pages worth practicing on
The best shading practice is a page with big, rounded shapes and some breathing room. Mandalas are close to perfect, because every ring hands you the same shape again and again, one fresh chance per ring to get the gradient smoother; our mandala pages were made for slowing down like that. Dragons work almost as well: big bellies, big wings, all curves.
If you are curious where shading fits into the longer arc of how coloring grows with you, the coloring-by-age guide maps the whole road. And if a younger kid at your place is still wrestling with the lines themselves, this guide is for their parents.
Dragon and Castle Coloring Page - June 2026 Edition
Try these coloring pages!
Cat Mandala Coloring Page with Floral Patterns
Try these coloring pages!
Lotus Flower Mandala Coloring Page with Concentric Rings
Try these coloring pages!
Bold Geometric Mandala Coloring Page with Sunburst Center
Try these coloring pages!
When those are done, more shapes worth shading are one search away.
What else could you color?
Pick a prompt or type your own — opens in a new tab.