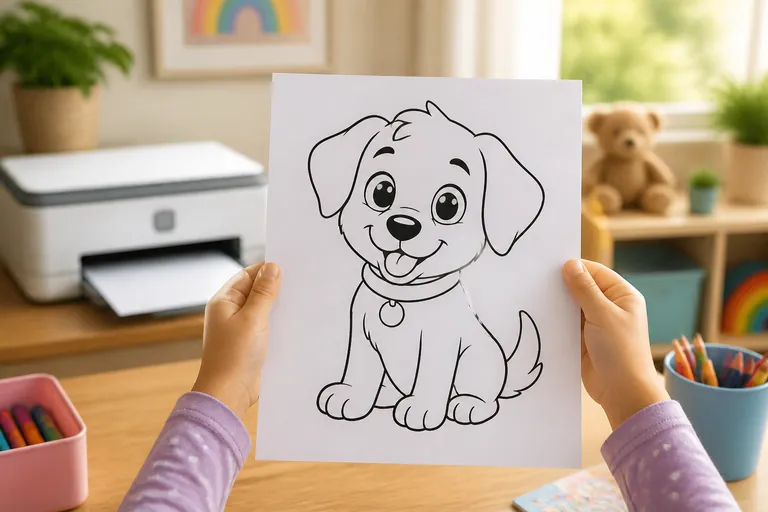
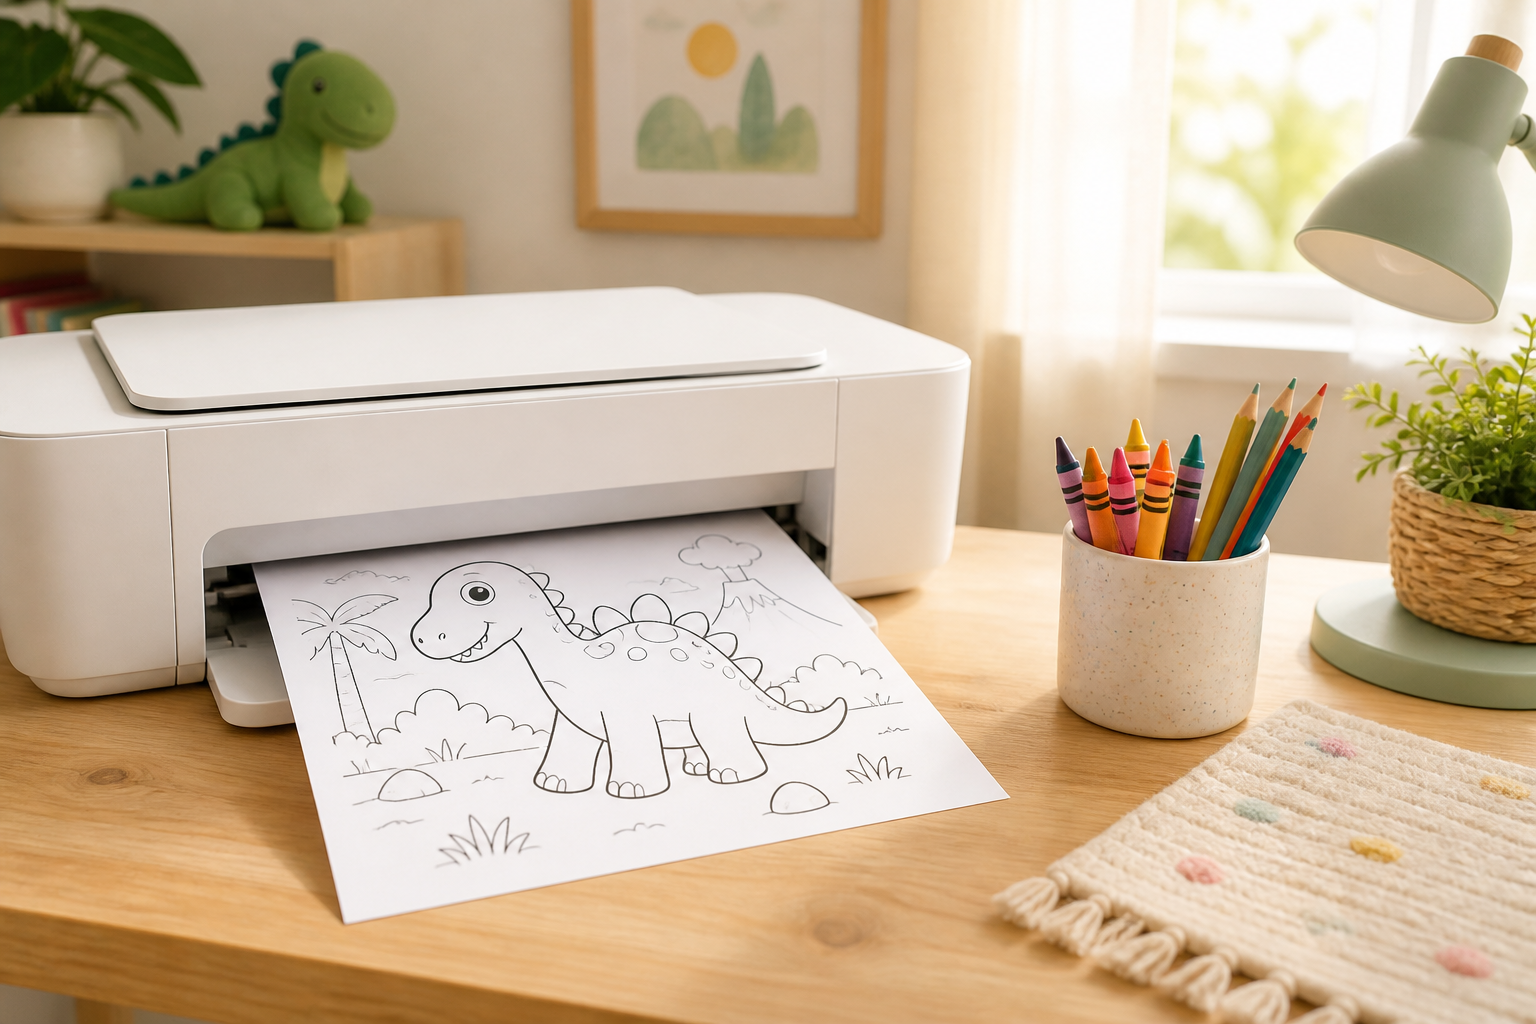
You found a page your kid wants to color, you hit print, and it comes out wrong. The edges are cut off, the lines are so faint they barely show, or the whole thing shrinks to a stamp floating in the middle of the sheet. Almost every time, the printer is fine. It is the settings. Three of them do most of the work, and once you have them right, printing a clean, full-size page takes about ten seconds.
Start with the three settings that matter
Before you print anything, open the print dialog and check these three. On most home printers they sit on the same screen.
- 1Fit to page (sometimes called Scale to fit). This is the setting that fixes cut-off edges and tiny, shrunken prints. It sizes the page to your paper instead of letting the printer guess. If your printout keeps losing its border or coming out small, this is almost always why.
- 2Print quality set to Best or High. Draft mode saves a little ink but thins the lines until they look grey and broken, which is the opposite of what you want on line art. Best or High gives you crisp black outlines a crayon can actually follow.
- 3Grayscale or black ink only. A coloring page is black lines on white, so there is no reason to spend color ink on it. Grayscale keeps the lines sharp and leaves your color cartridges for the things that need them.
Match the paper to what they'll color with
The right paper depends entirely on what your child reaches for. For crayons and colored pencils, plain copy paper is genuinely all you need. For markers, thin paper is the problem: the ink soaks through and prints onto whatever is underneath, so a slightly heavier paper or cardstock is worth it. Either way, print single-sided, because coloring on the back of a page pushes marker and pencil marks through to the front.
If you are not sure what your paper can handle, we go through it in detail in which paper holds up to markers and which is fine for pencils. It is also worth thinking about the crayons, markers, or pencils they'll actually reach for before you print a stack, since the tool decides the paper.



Coloring fun for kids — anywhere.
Free for iOS & Android. No ads, no sign-up, offline-ready.


Coloring fun for kids — anywhere.
Free coloring app for kids. iOS and Android, phones and tablets. No ads, no sign-up, even offline.
When something still looks wrong
If the settings are right and the print still comes out off, the cause is usually one of a handful of things. Here is how to read what went wrong.
| Problem | Likely cause | Quick fix |
|---|---|---|
| Edges cut off | Printing at full size with no room for margins | Turn on "Fit to page" and check the paper size matches your tray |
| Prints tiny in the middle | Scaling set low, like 50% | Set scaling to "Fit" or back to 100% |
| Lines too faint | Draft mode, or a low black cartridge | Switch to Best or High, and check the black ink |
| Lines too dark or smudgy | Printing a filled photo instead of line art | Download the outline version, then set quality to Best |
| Ink bled through | Paper too thin, or printed double-sided | Use heavier paper or cardstock, and print single-sided |
| Blurry or pixelated | Image stretched larger than its resolution | Print at its normal size, or grab a higher-resolution copy |
Save ink without losing the lines
You do not have to choose between clean pages and a full cartridge. Grayscale already skips color ink entirely. Beyond that, print only the page you actually need instead of a whole document, and keep the quality on Best rather than Draft, because a page you have to reprint costs more ink than getting it right the first time.
The fastest way to build that folder is to open a subject your child already loves and print a few in one go.
What else could you color?
Pick a prompt or type your own — opens in a new tab.
Keep a few printed and ready
Once printing is a solved problem, the pages themselves are the easy part. Pick something with a bit of range so one printout lasts: a few mandalas for the calm, careful colorer and a couple of dinosaurs for the kid who colors fast and loud cover most moods in one small stack. Print them single-sided, tuck them in a folder, and the next time someone wants to color, you are ready before the crayons are out.