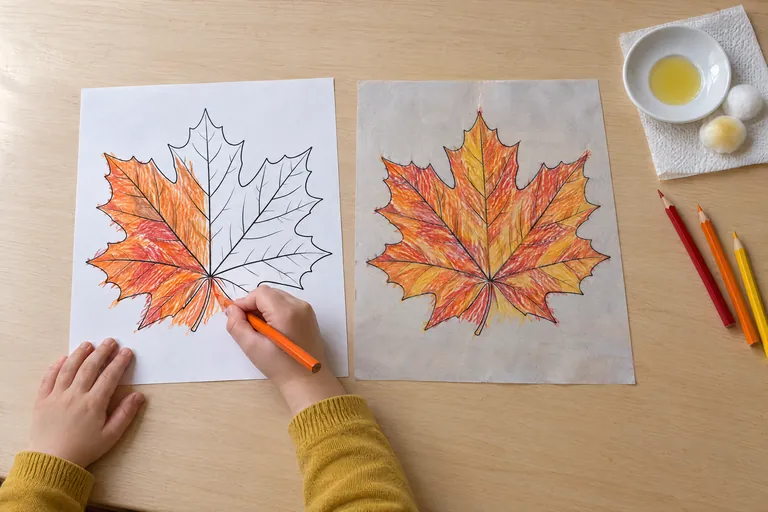
A pastry brush, a saucer of sunflower oil, a roll of tape, some kitchen paper and four printed pages. That is the whole kit for the window pictures in this piece, and every one of them starts as an ordinary coloring page. Suncatcher coloring pages need nothing special at the printer: the trick comes afterwards, when a grown-up brushes the back with oil and the paper turns see-through enough to let the light in (Crayola does the same with a cotton ball and vegetable oil).
Half past three, and the glass is bare
The summer pictures came down last week. The sky over the street is the color of dishwater, and your four year old has their nose against an empty window. This is where the afternoon starts.
Not every page works on glass. With light behind it, a page shows its outlines and its big colored fields, and everything small turns into a grey blur. So pick pages with one large subject, thick outlines and wide open spaces: a single maple leaf, a round owl, a pumpkin with a few deep ridges. Leave the mandalas and the feathery owls in the drawer for a rainy day at the table.
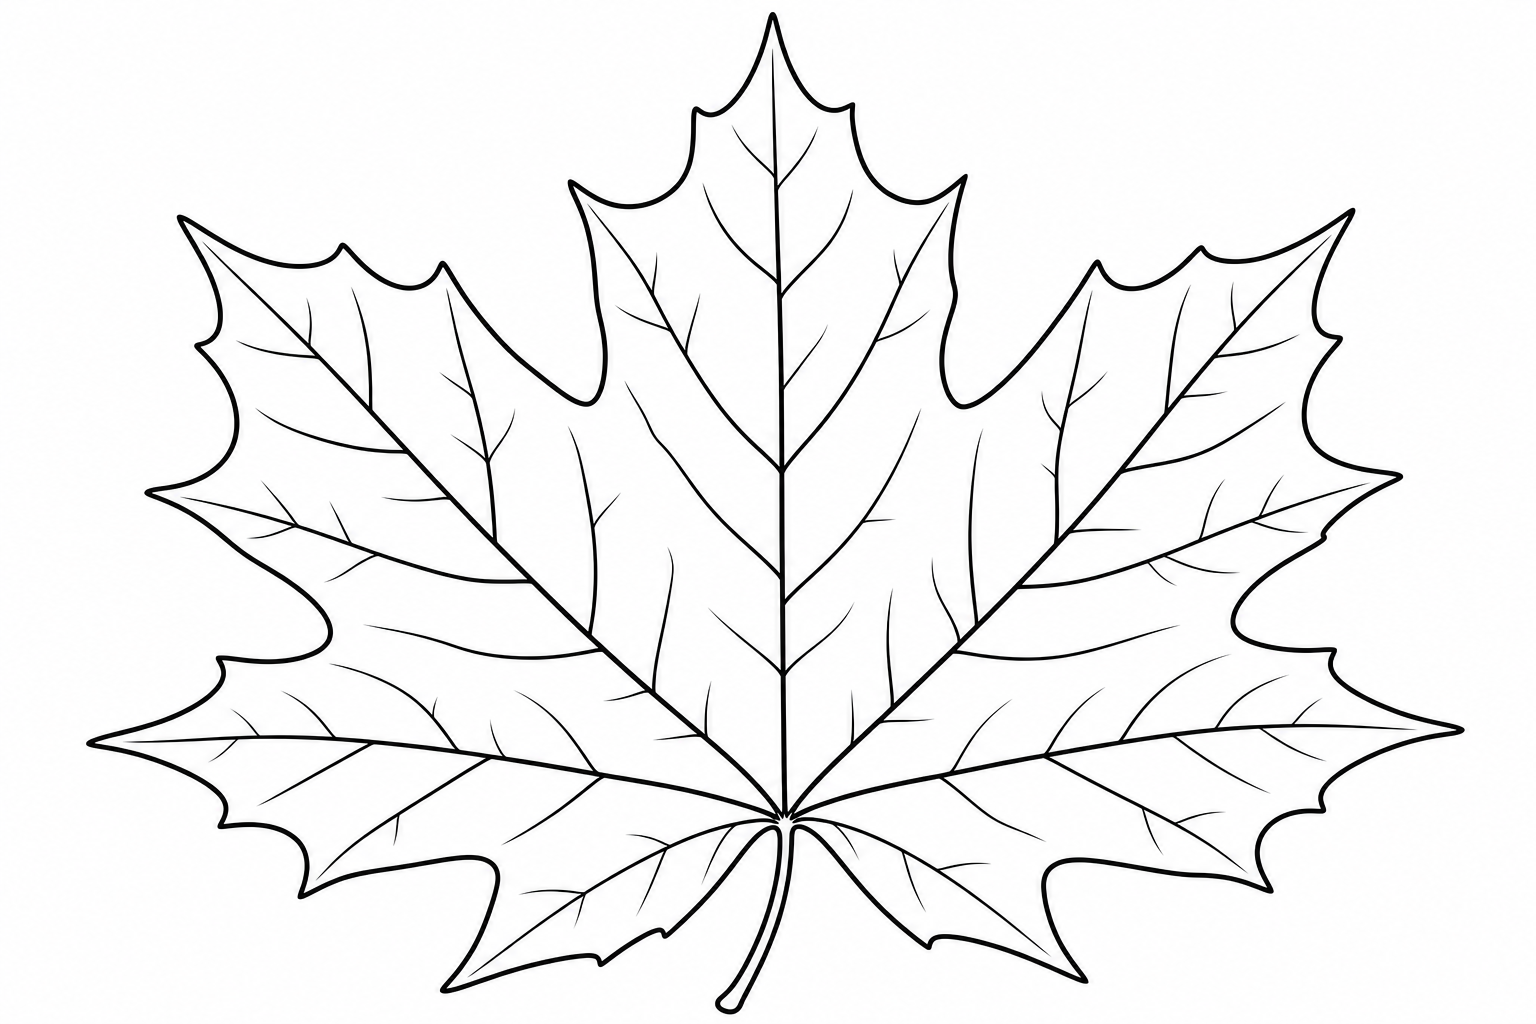
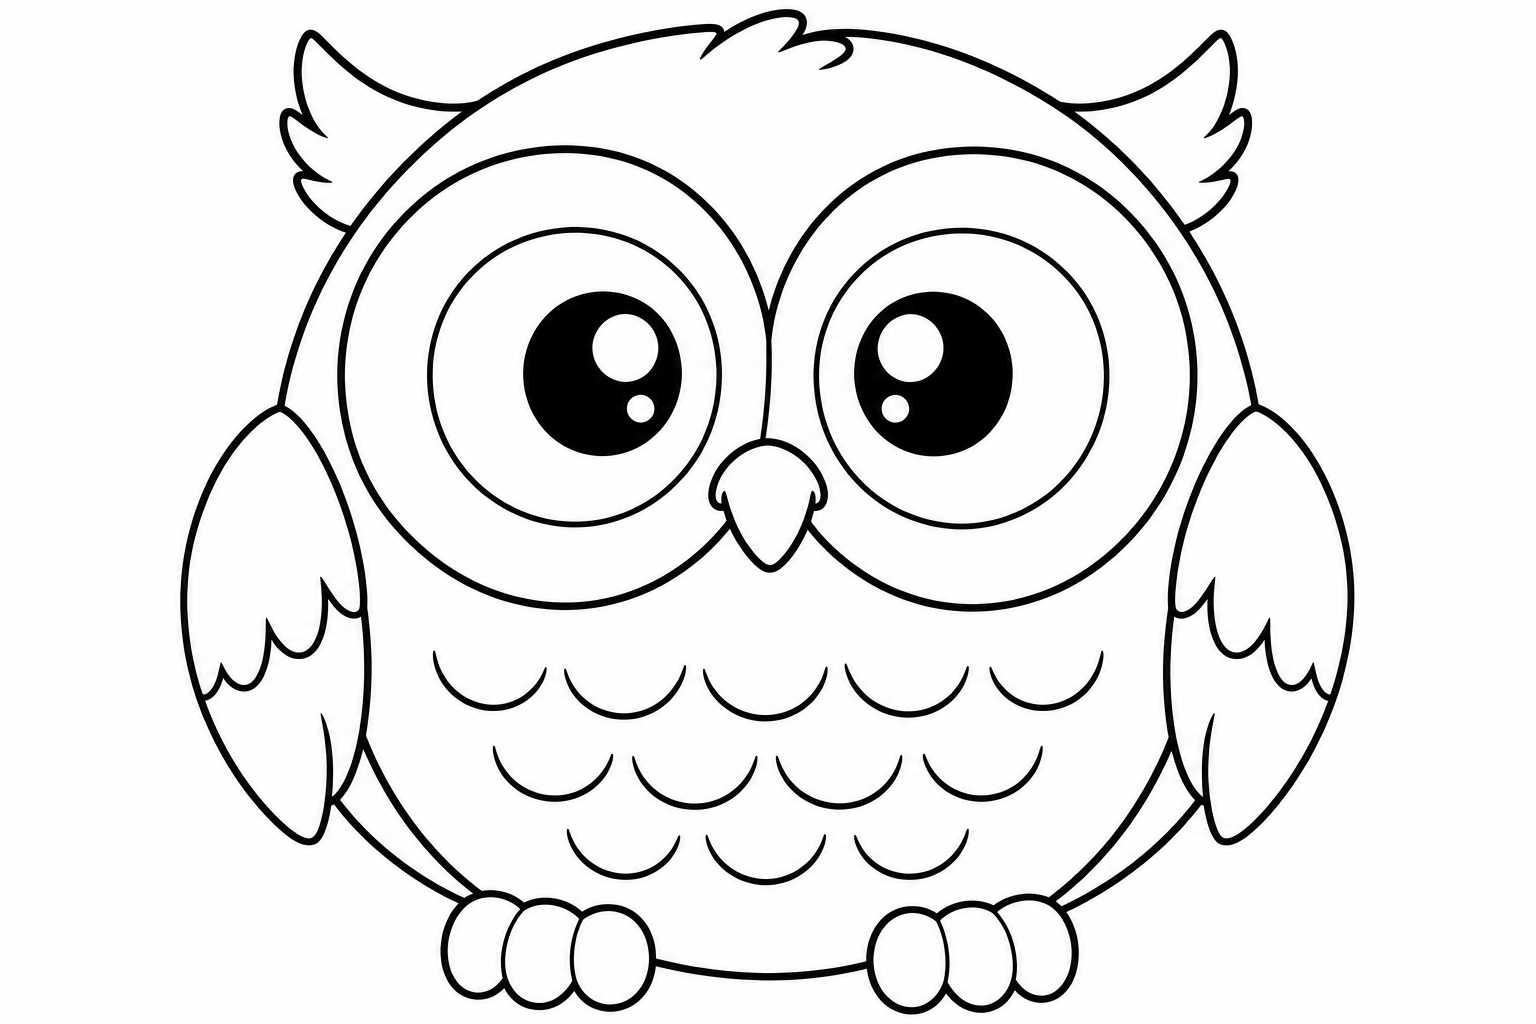
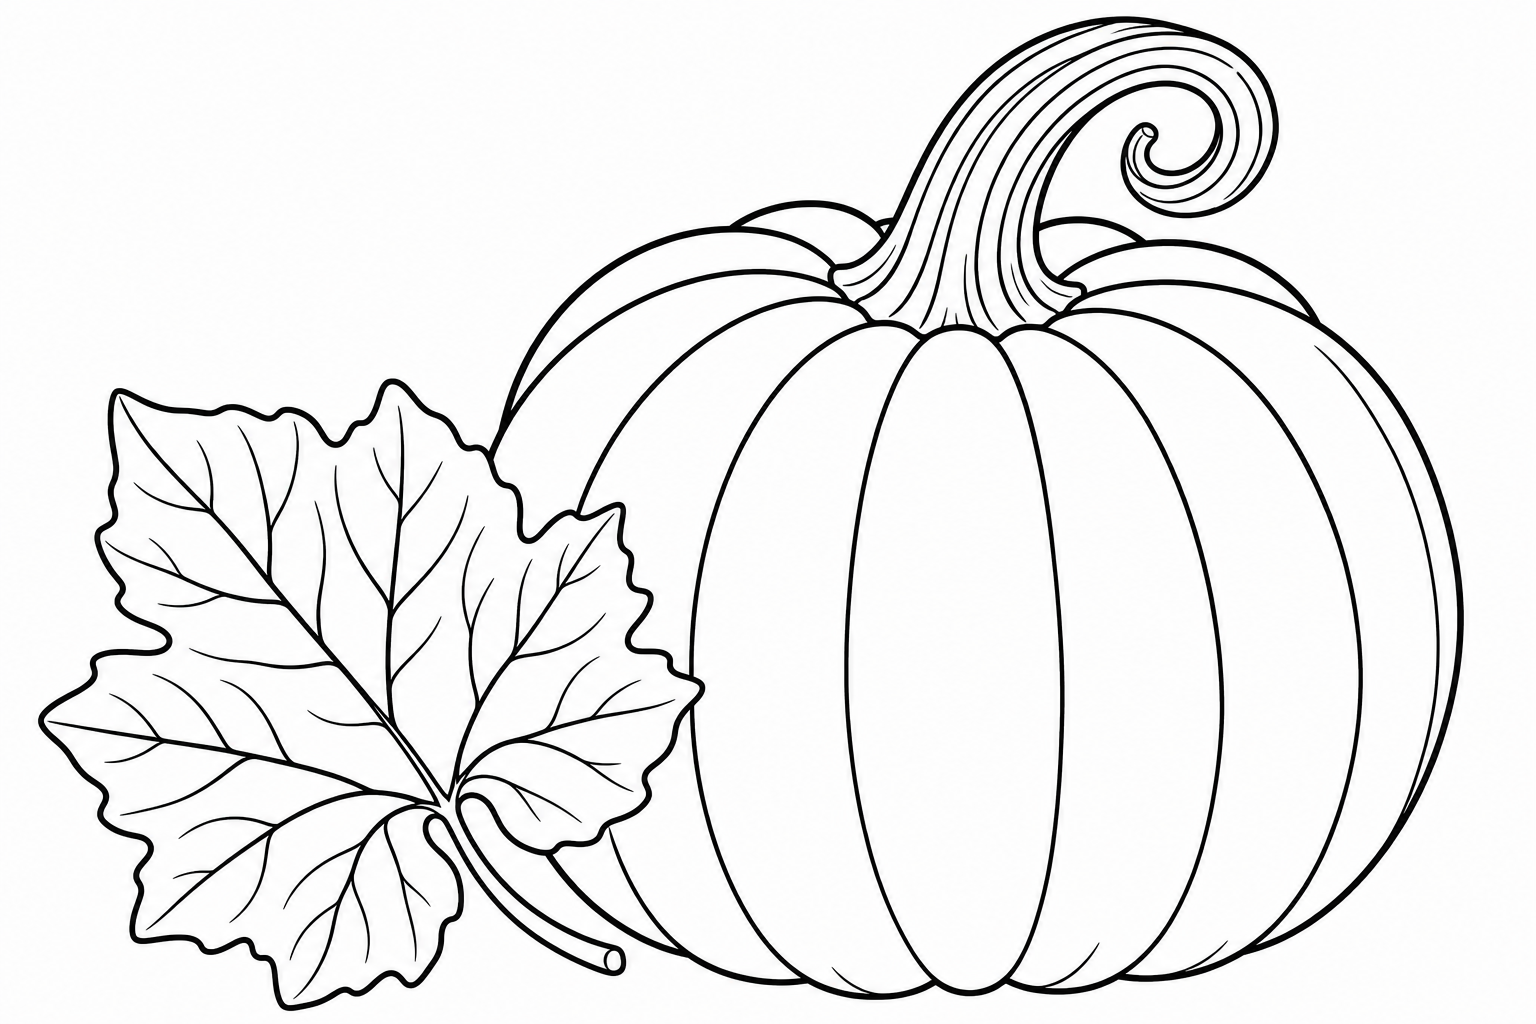
Color harder than feels normal
Here your child does all the work, and the only instruction is "press". Pale strokes vanish once the light comes through, so the colored pencils go on firmly and evenly, with no white gaps between the strokes. The craft sheet from Medienwerkstatt asks for exactly that, colored "evenly and strongly". Felt-tip markers glow even brighter, and some crafters prefer them to pencils (bastelfrau.de), so let your child choose.
For the youngest, one small page is plenty. Three fat acorns are a whole afternoon's work at three, and the caps are the only fiddly part.
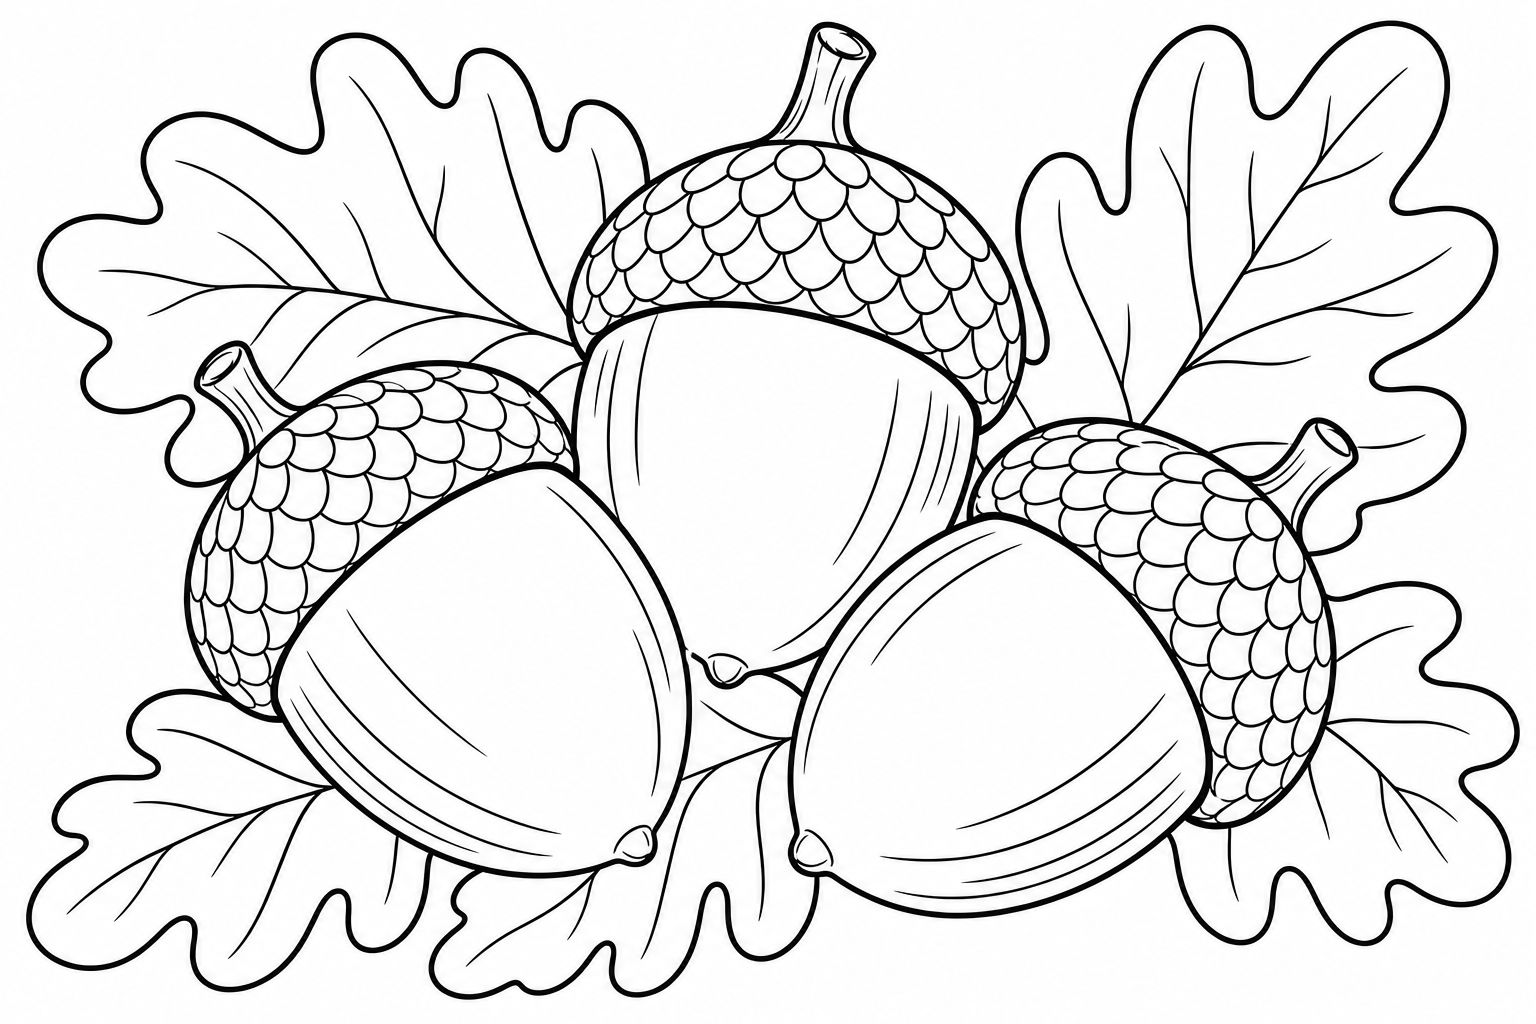
If the questions start about why the leaves turn red at all, the leaf pages with the color that hid all summer tell that story while the pencils are still out.
The oil, done by a grown-up
This step is yours. Spread kitchen paper on the table, turn the colored page face down, and then:
- 1Dip a wide brush or a cotton ball into a little sunflower oil or baby oil.
- 2Brush the back of the page thinly, edge to edge, until the colors show through from behind.
- 3Press the page between two sheets of kitchen paper to soak up the extra oil.
- 4Let it lie flat until it no longer feels greasy to the touch.
Tape holds badly on oiled paper, as the Medienwerkstatt sheet warns, so keep a narrow strip along the top edge dry, or hang the picture on a thread instead.



Coloring fun for kids — anywhere.
Free for iOS & Android. No ads, no sign-up, offline-ready.


Coloring fun for kids — anywhere.
Free coloring app for kids. iOS and Android, phones and tablets. No ads, no sign-up, even offline.
While it dries
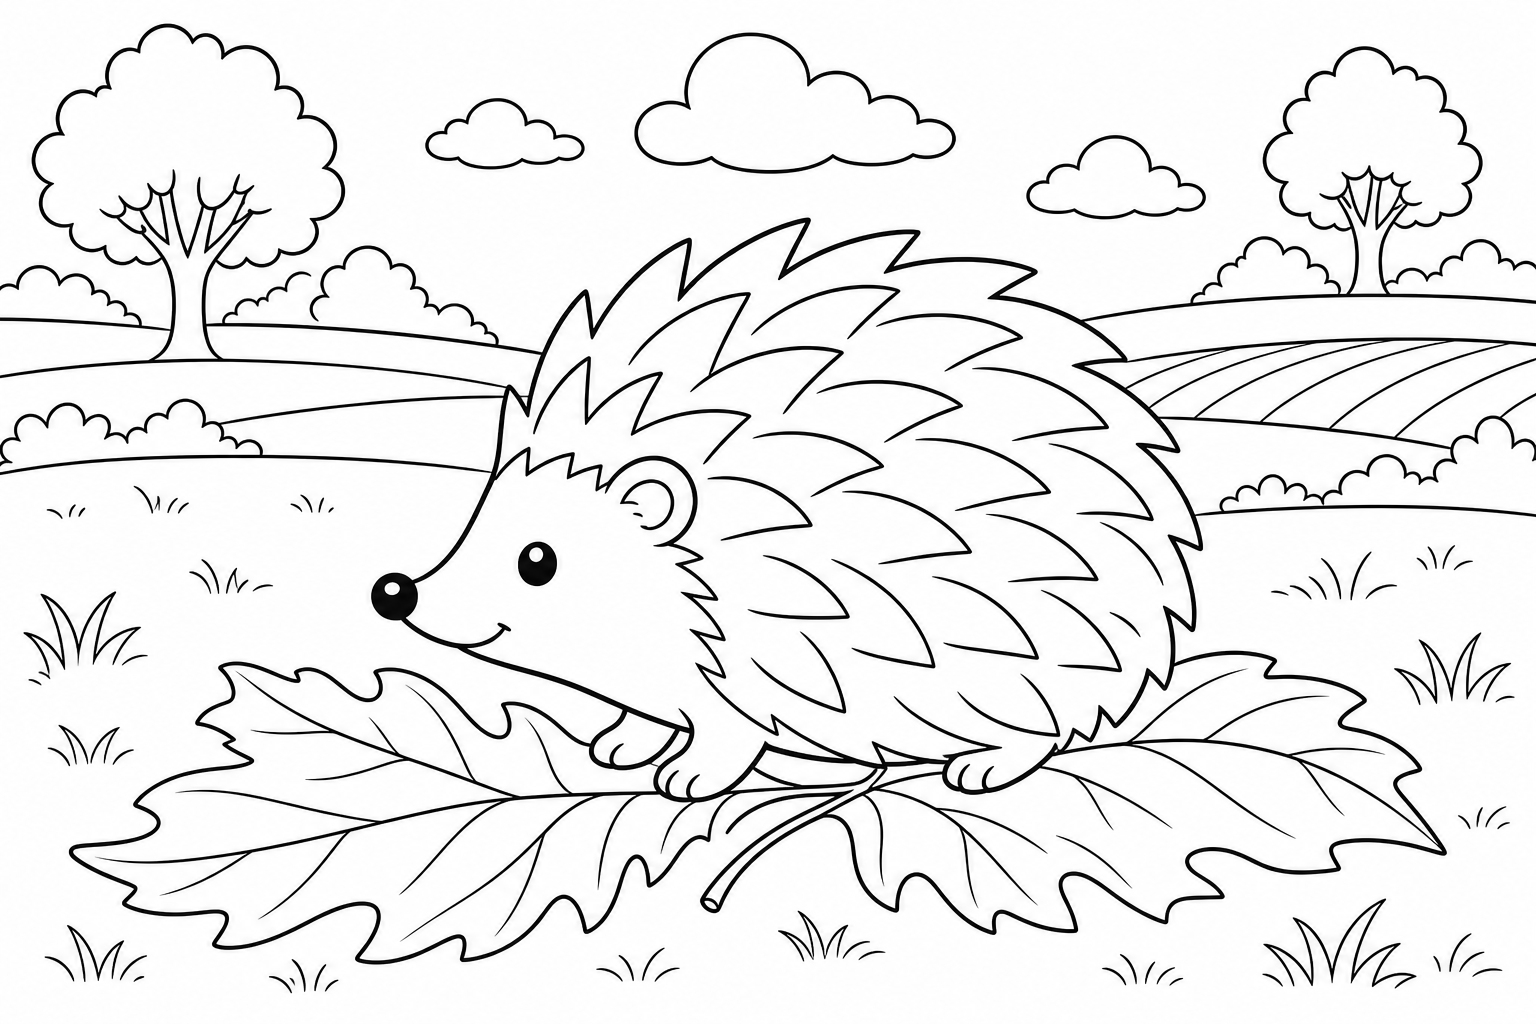
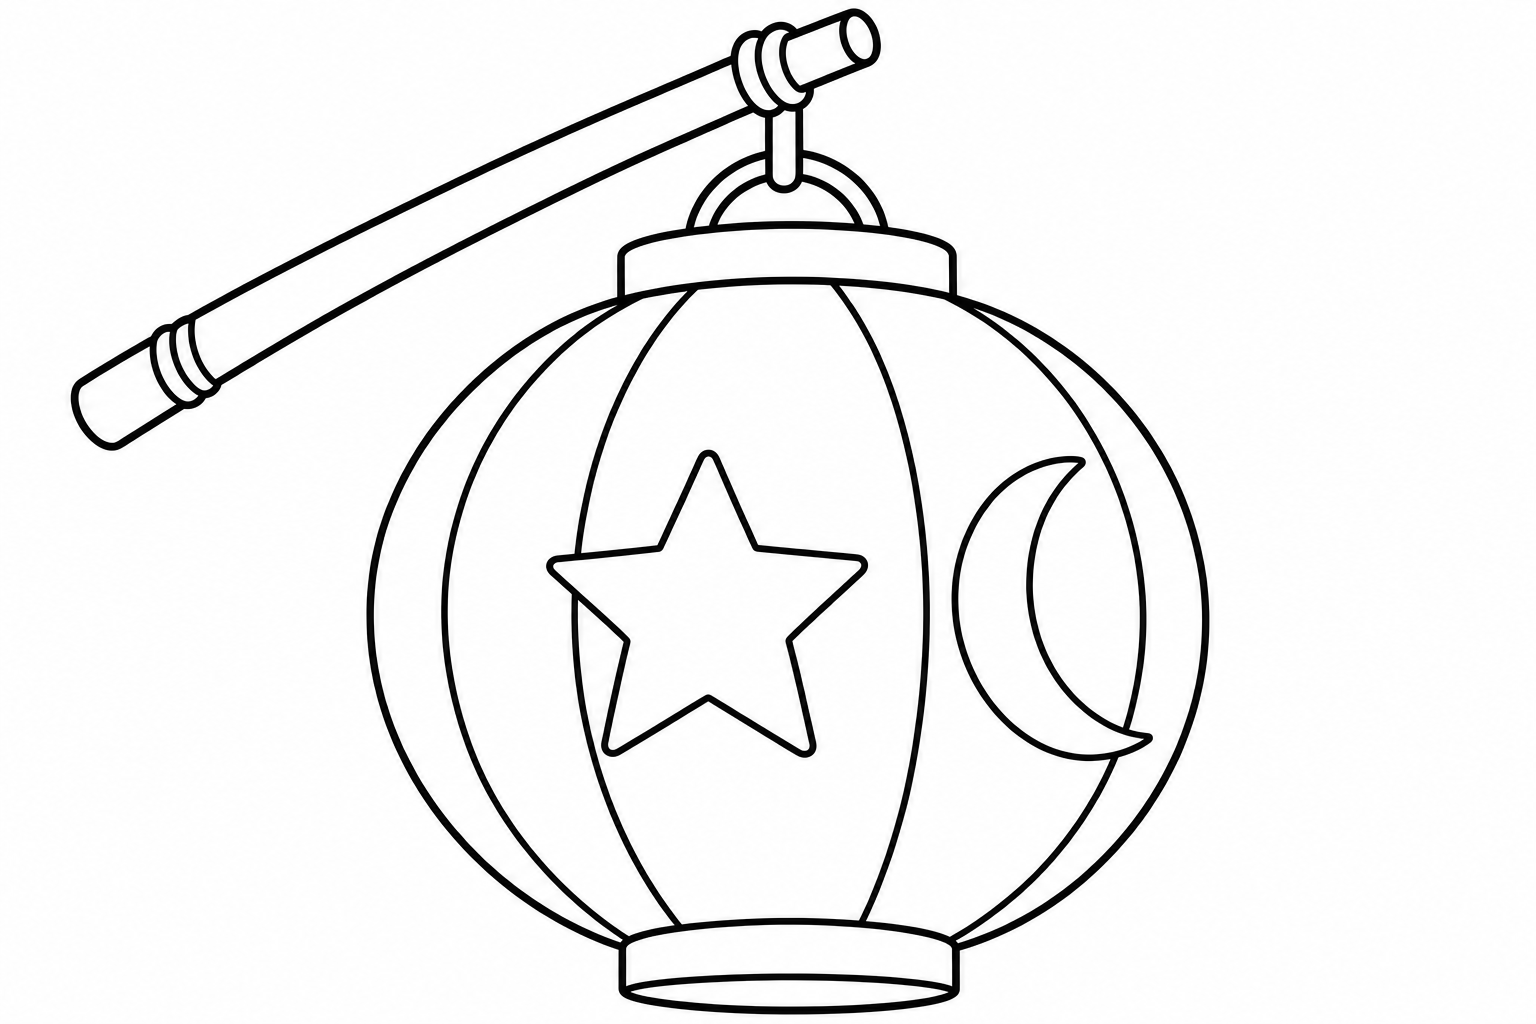
Waiting is the hardest part at four. The first pages are lying on the kitchen paper and must not be touched, so hand over two more: a hedgehog built from a few big spikes, and a round paper lantern with a star and a moon that will look almost lit on the glass.
If your child wants more shapes for the next round, these work well on glass:
What else could you color?
Pick a prompt or type your own — opens in a new tab.
Five o'clock, and the window answers
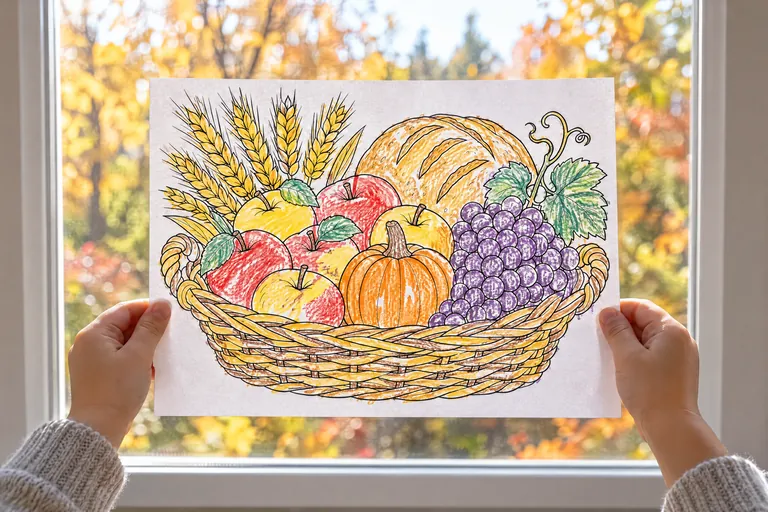
Tape the pictures up at your child's eye height, where the light from the sky comes straight through. The red of the leaf deepens, the owl's eyes turn into two pale moons, and the pumpkin finally looks like it has a lamp inside it. Later, when the kitchen light goes on and the street outside goes dark, the window turns around: now the pictures glow outward for everyone walking past.
The glass that was bare at half past three holds three pictures and one very proud child, who can tell you which one they pressed hardest. If the walk home brought back real leaves and acorns too, they belong on the autumn nature table next to the window.