Ask a kid to describe their robot and you will not get a color. You get a mission: it cleans my room, it walks the dog, it flies me to school. The look comes later. That is exactly why robot coloring pages earn their place on the table. A robot drawing is half finished on purpose. The lines fix the shape, but the kid decides what every part is for, and color is how that decision gets written down.
So here is a small build-along instead of a list. Four steps, the same ones a real designer would take: pick a chassis, give it a job, wire the colors, switch it on. Pages from our printable robot collection are scattered along the way, and the full set waits at the end.
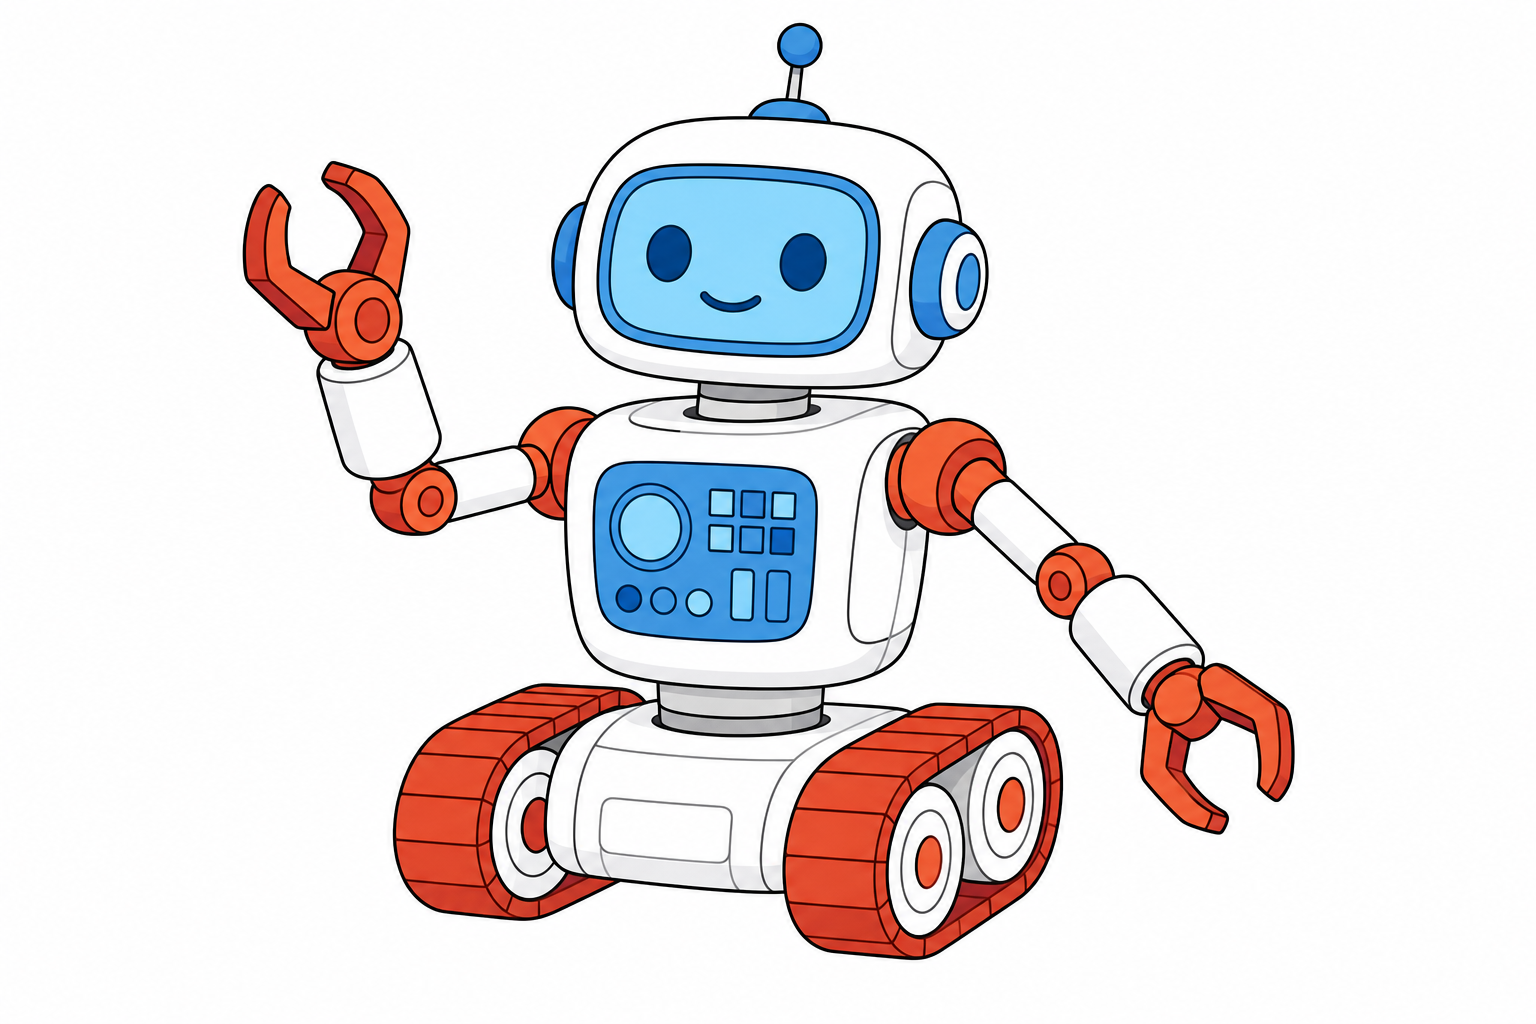
Step 1: Pick the chassis
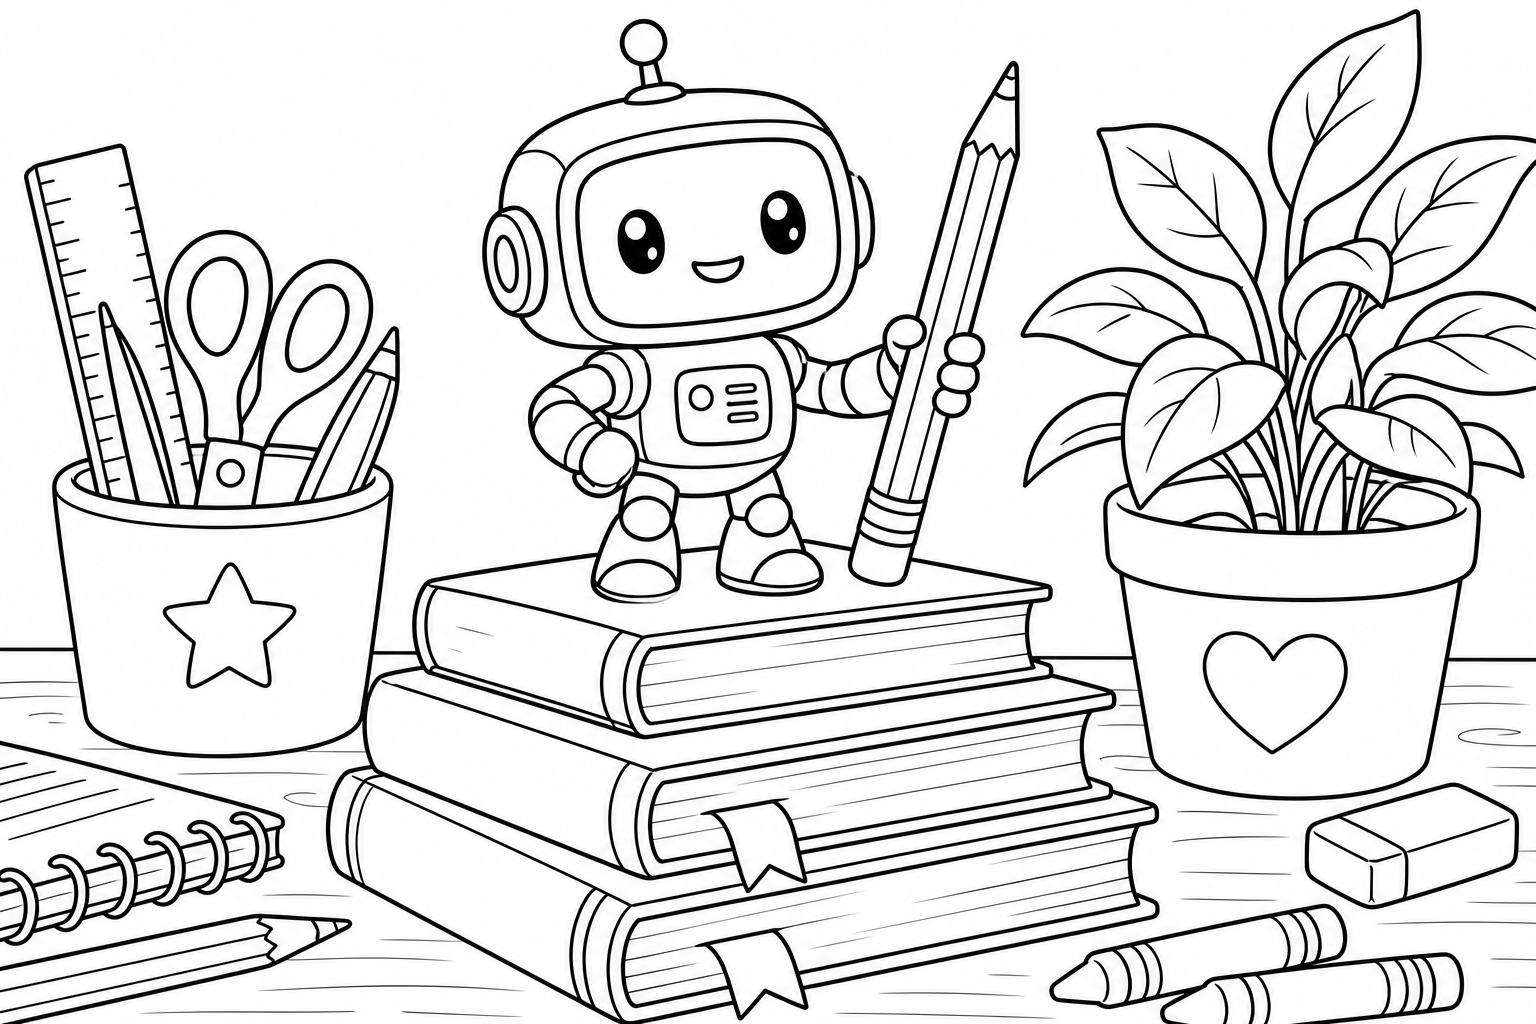
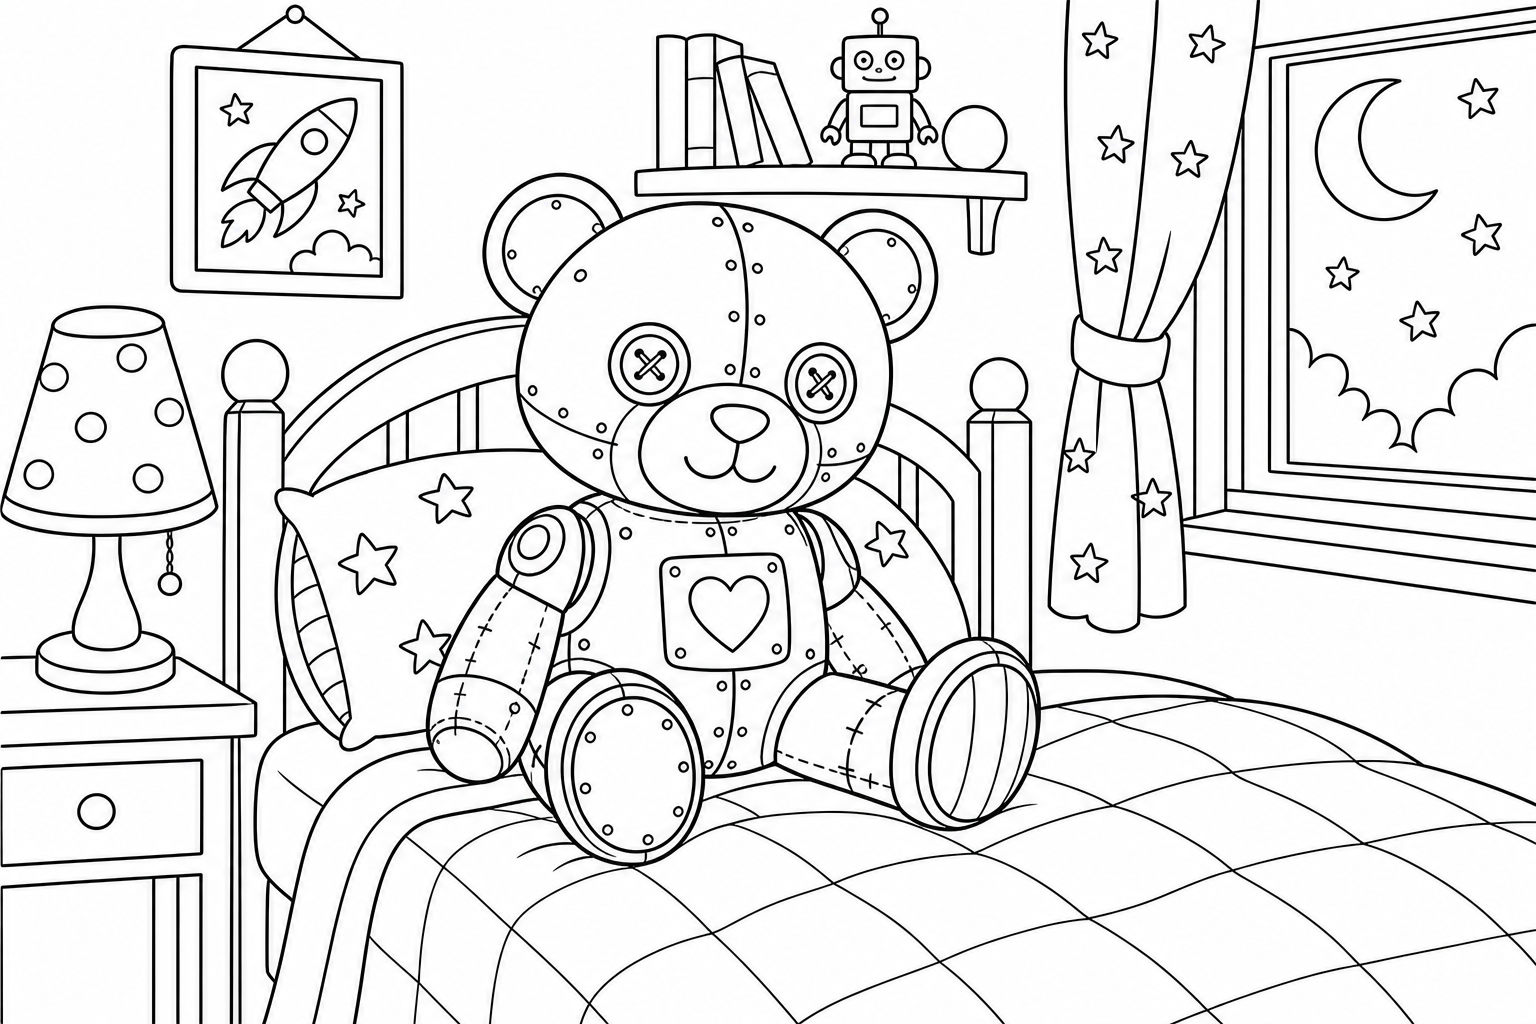
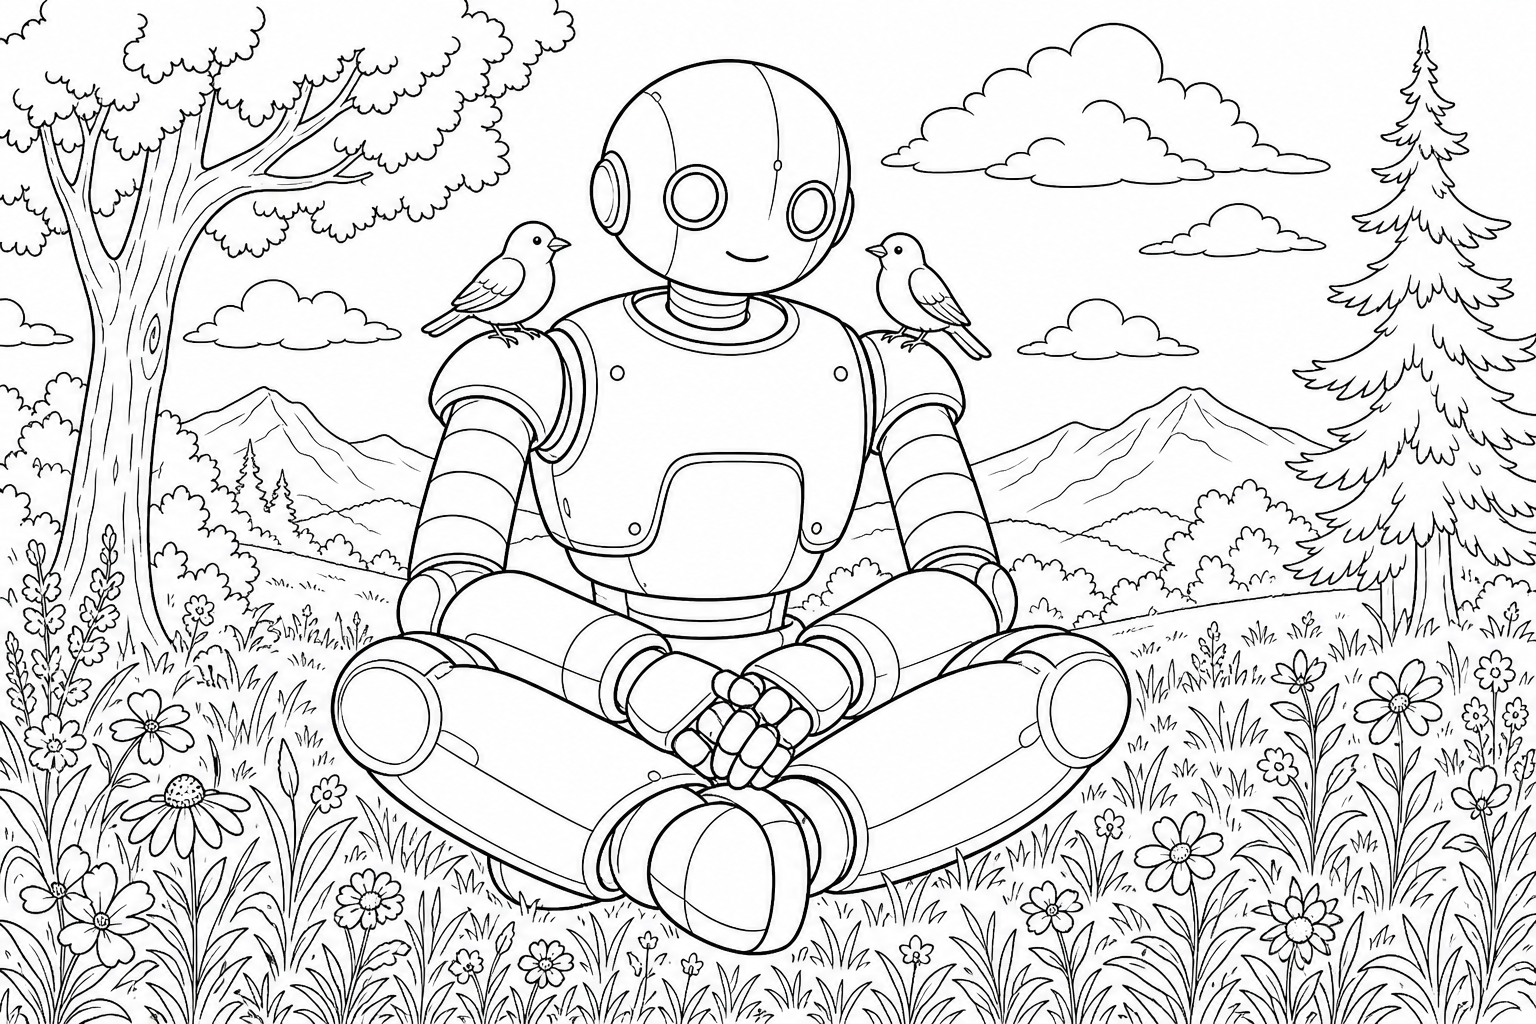
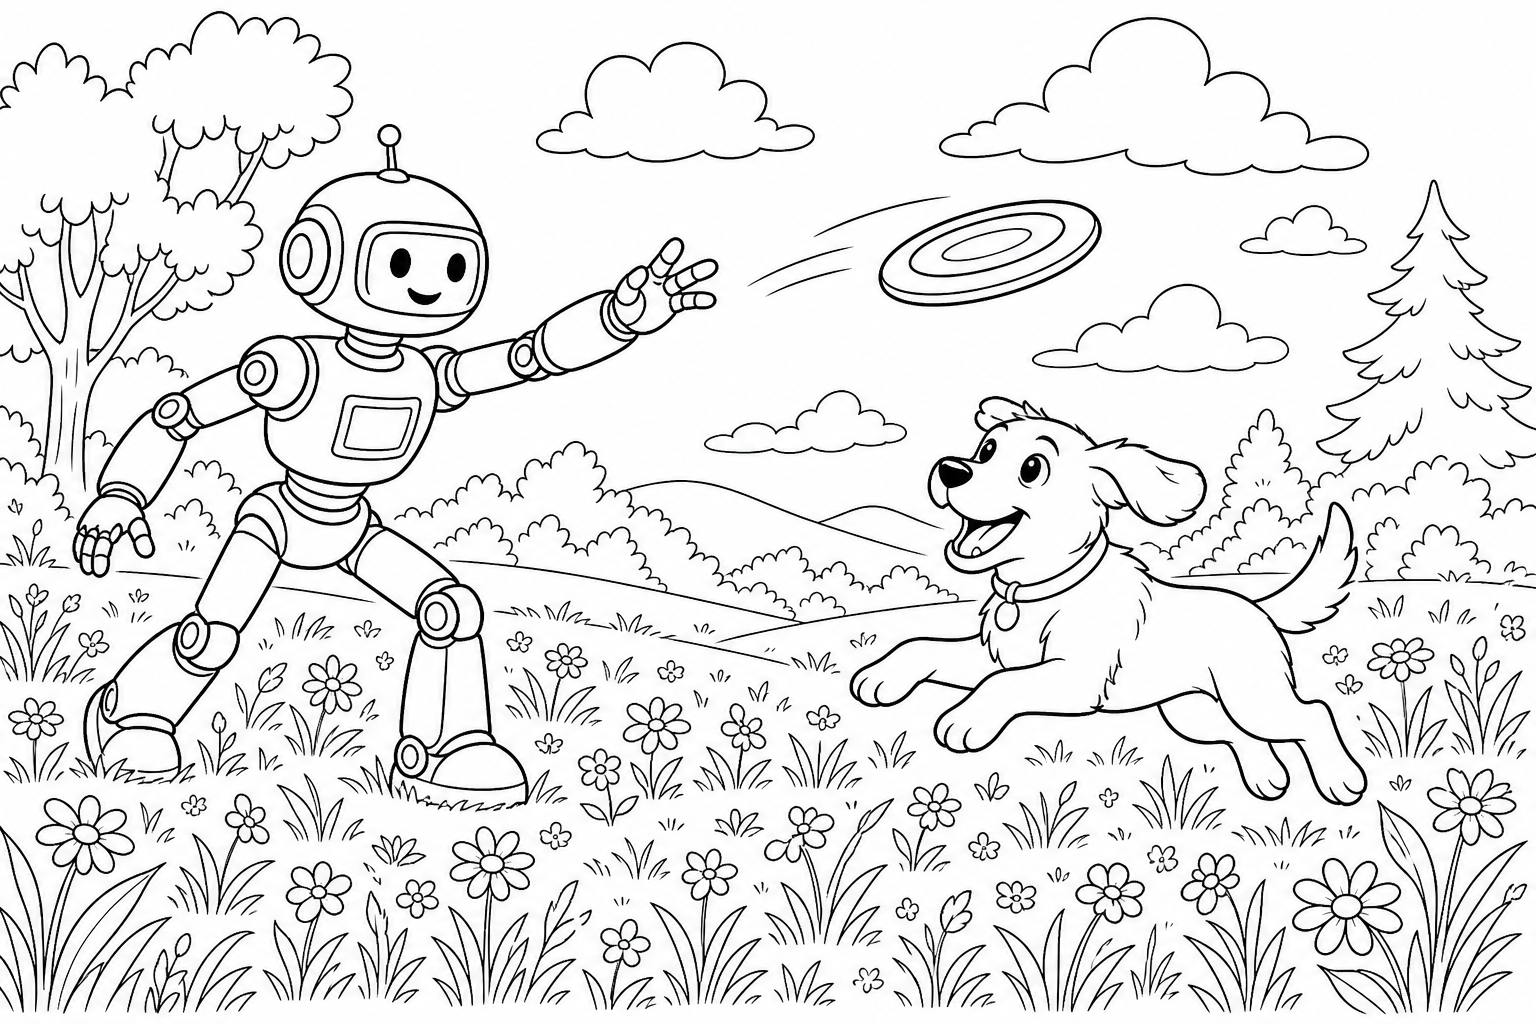
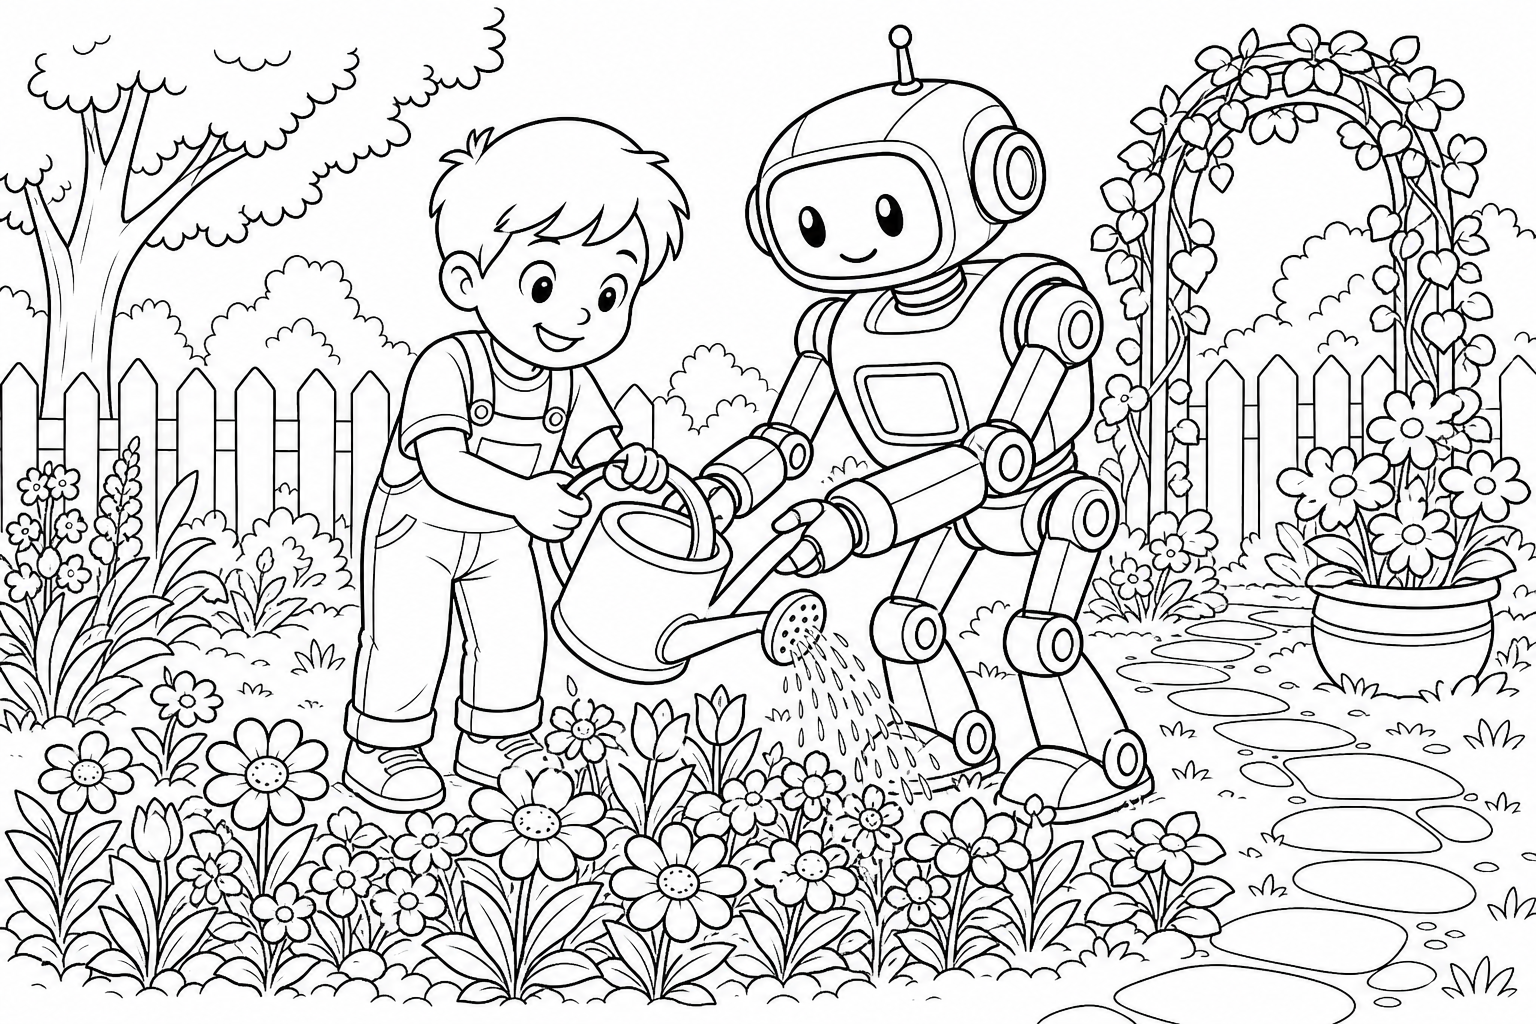
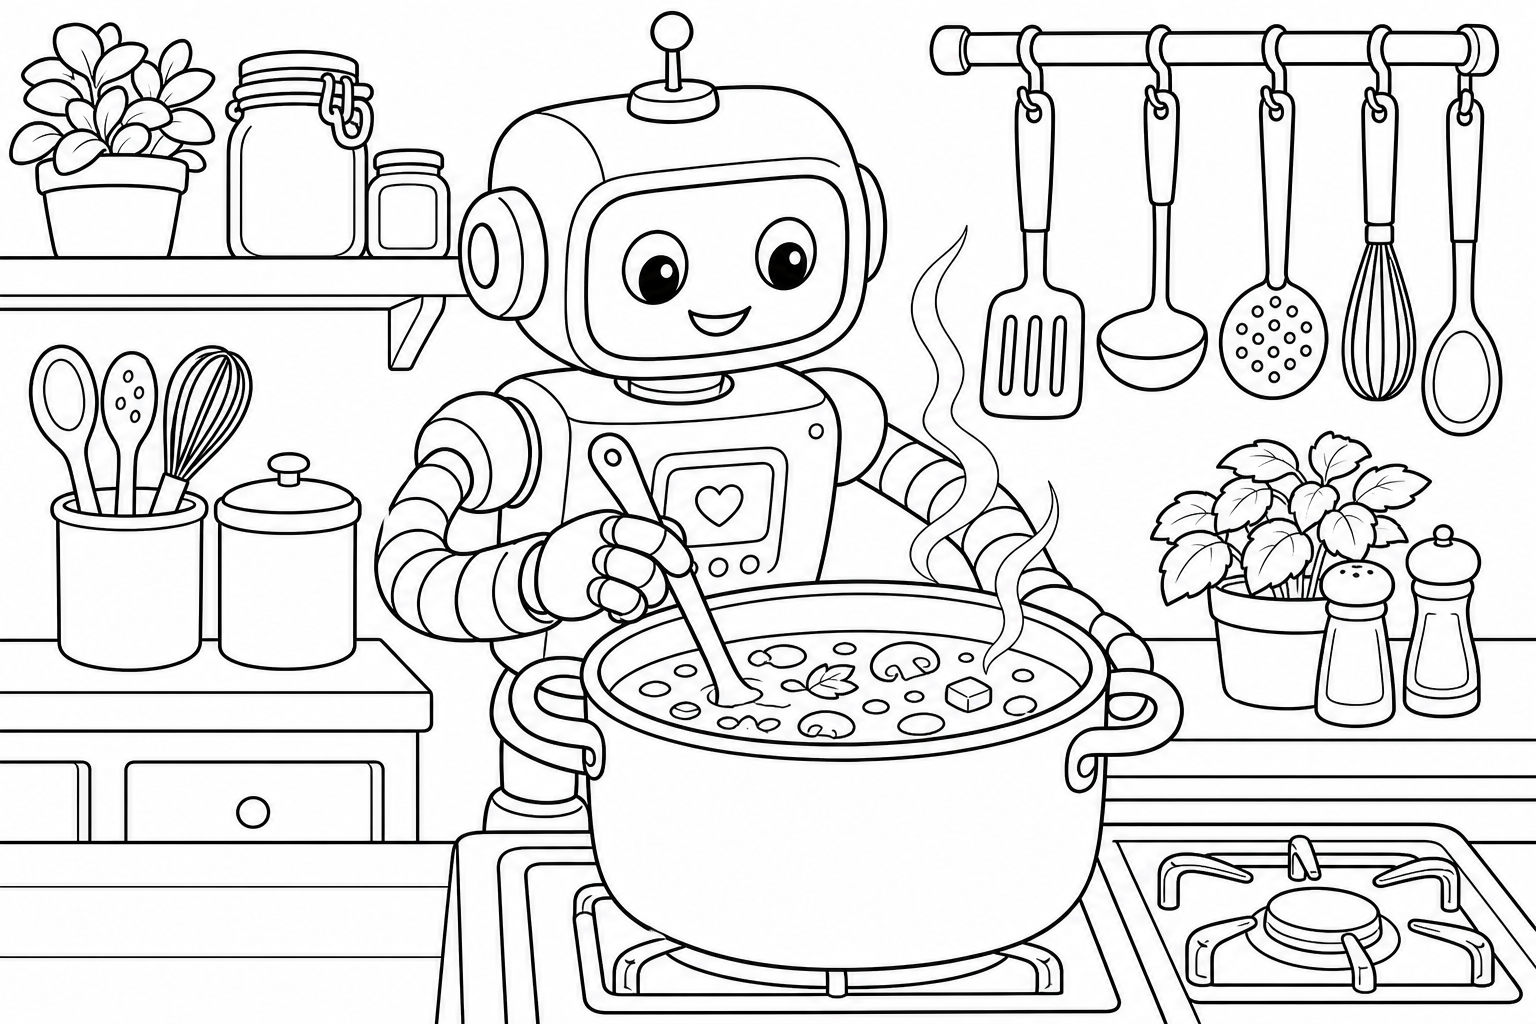
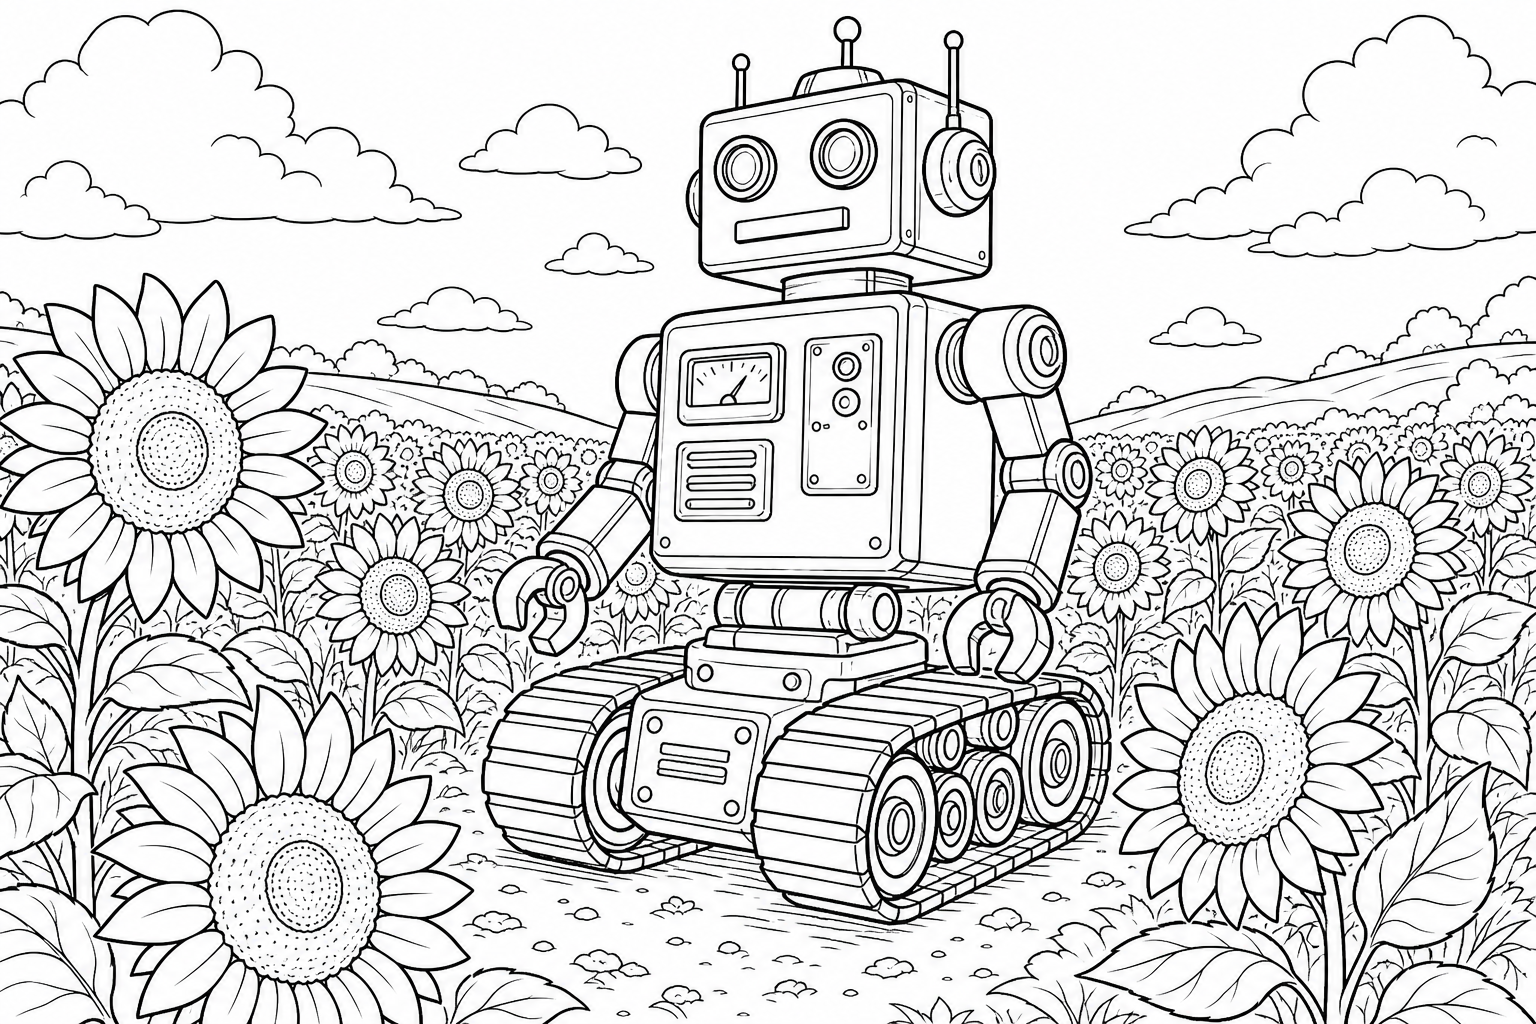
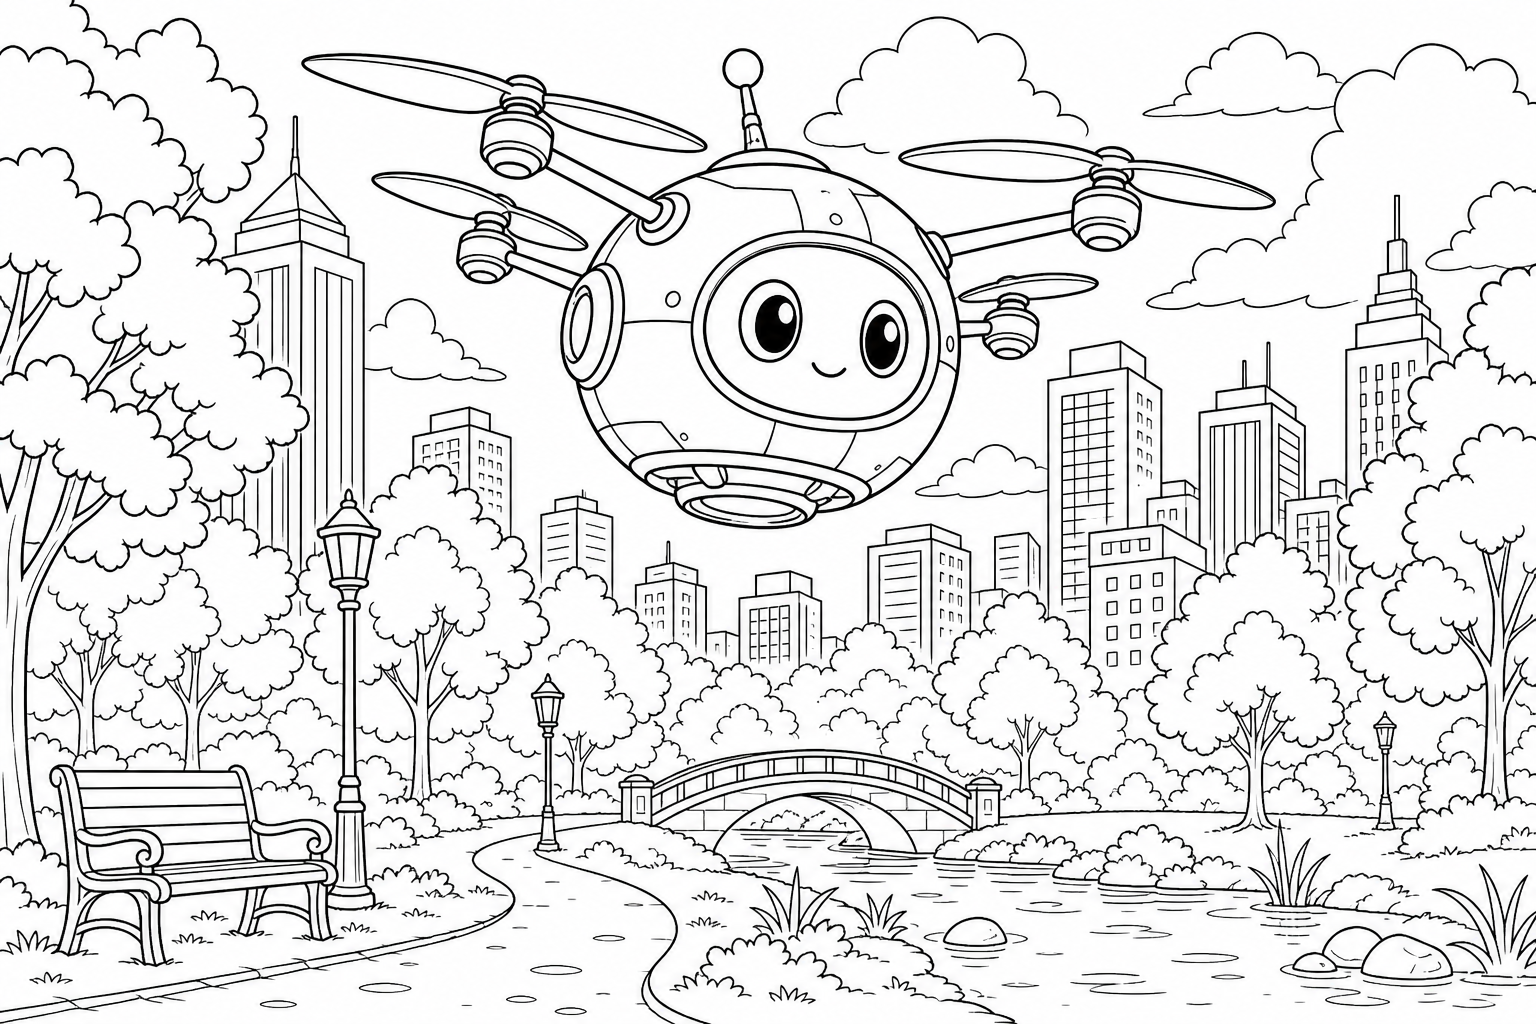
The chassis is the body, and the body sets the personality before a single crayon comes out. Wheels say fast. Tank treads say nothing can stop me. Two legs say almost human, and rotors say catch me if you can. Boxy robots feel like loyal old machines. Round ones feel new and a little smug.
This is also where you match the page to the kid. Younger builders do better with big panels and few parts, so one stray crayon stroke cannot ruin the design. Older ones will hunt for rivets, gauges and cable runs to pick out in different shades.
Step 2: Give it a job
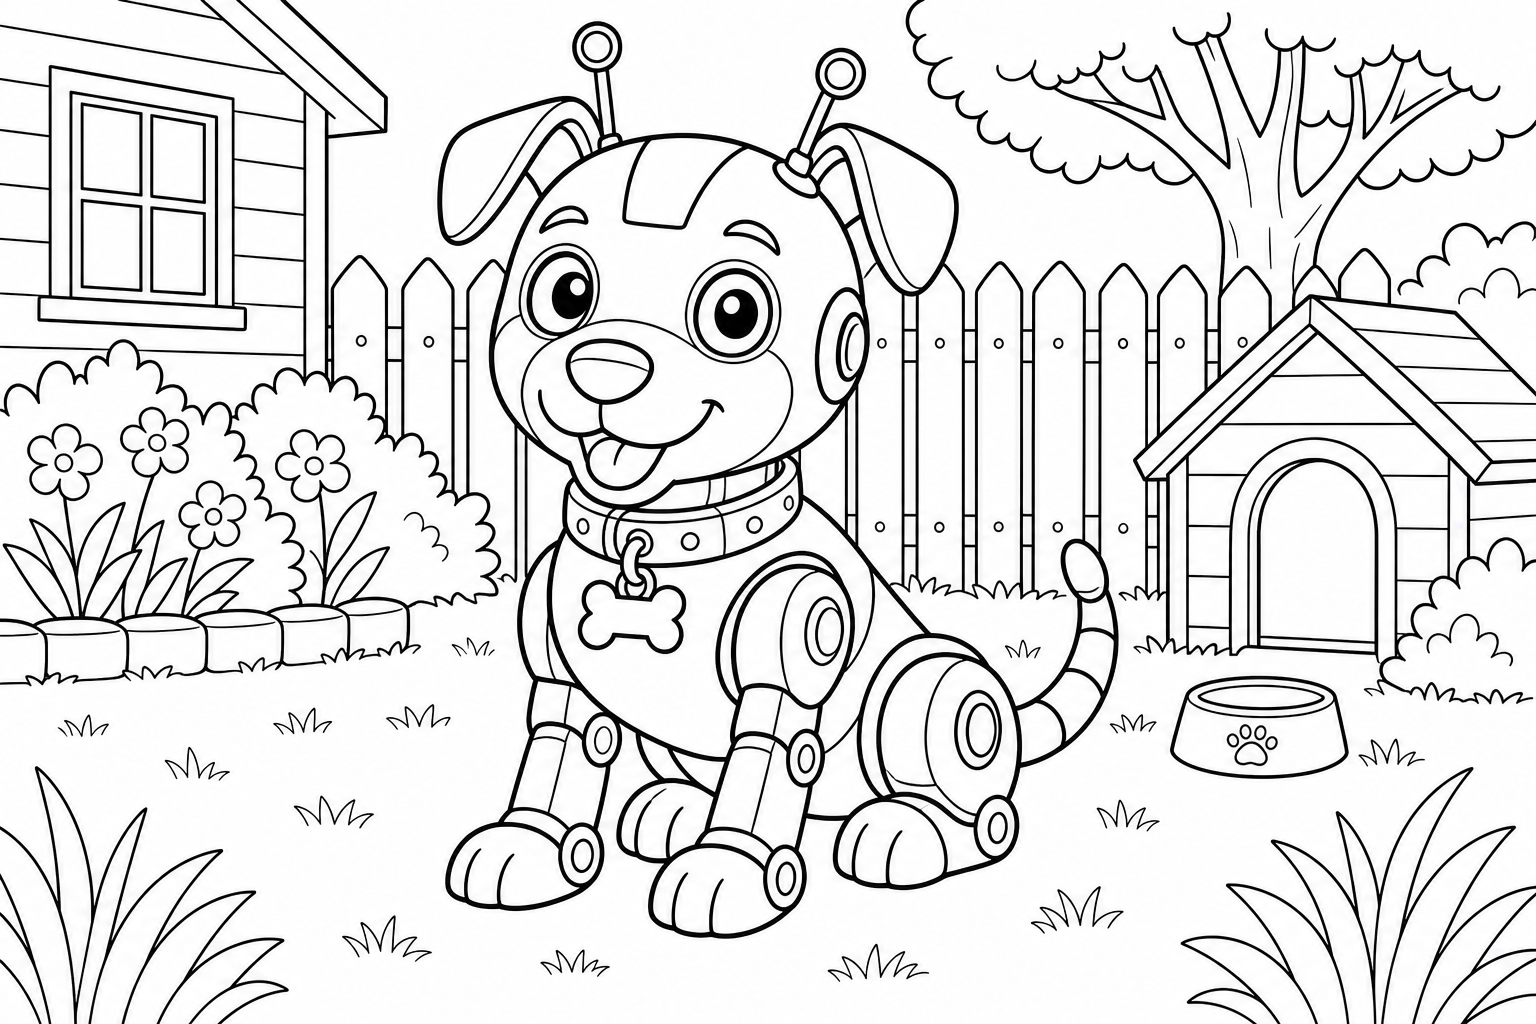
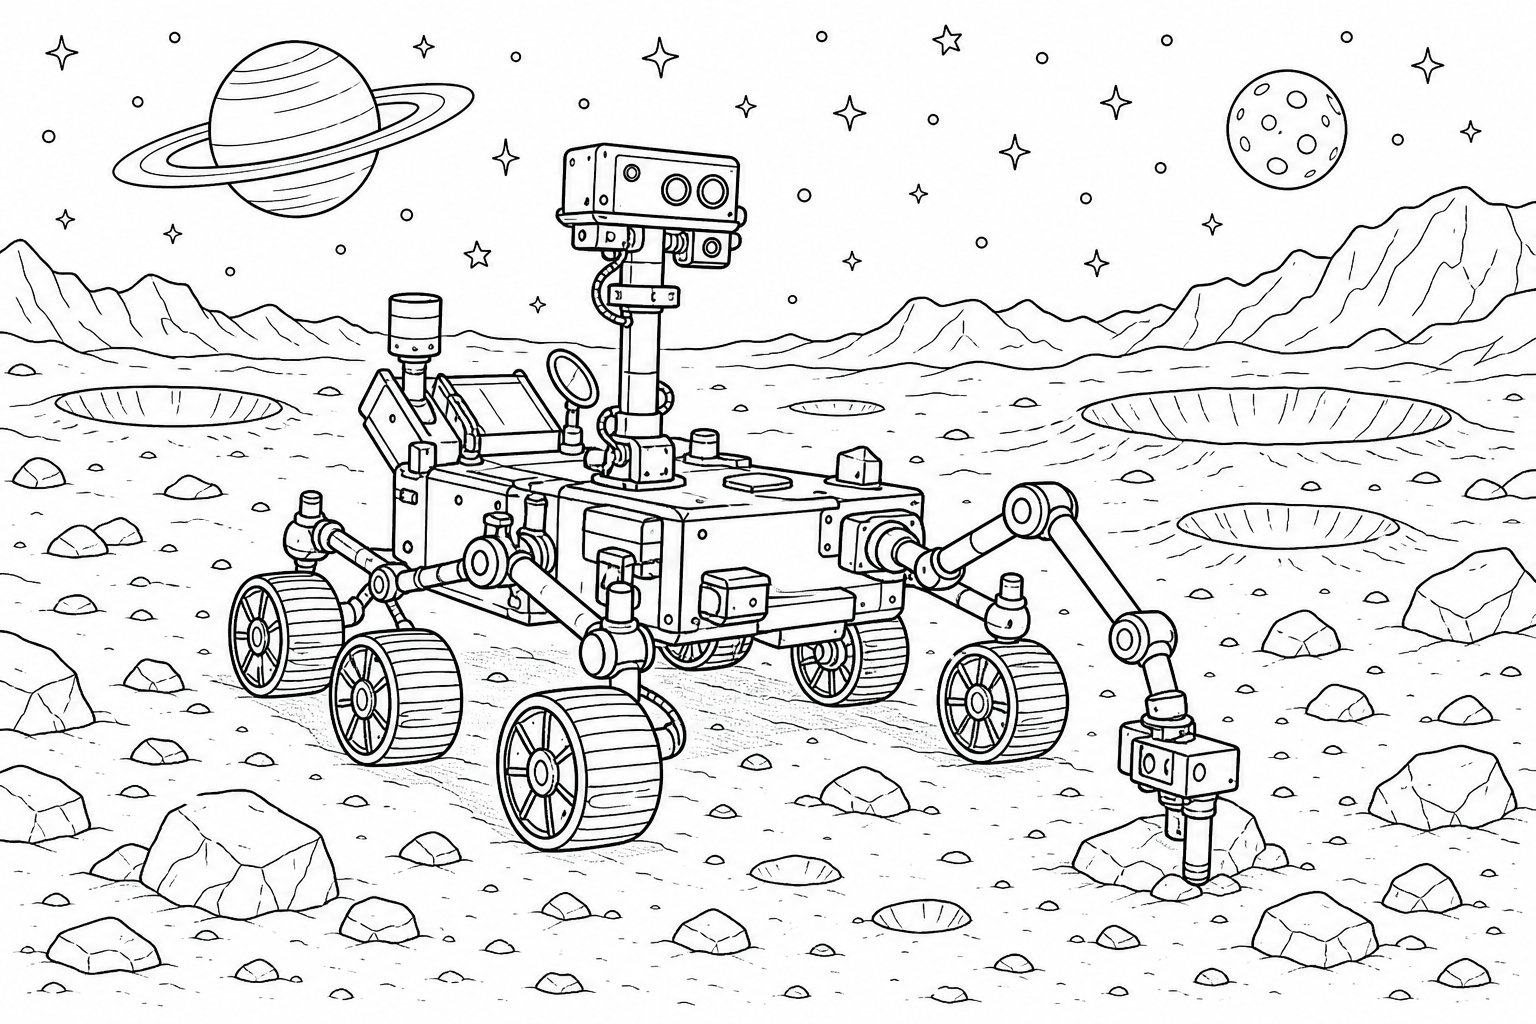
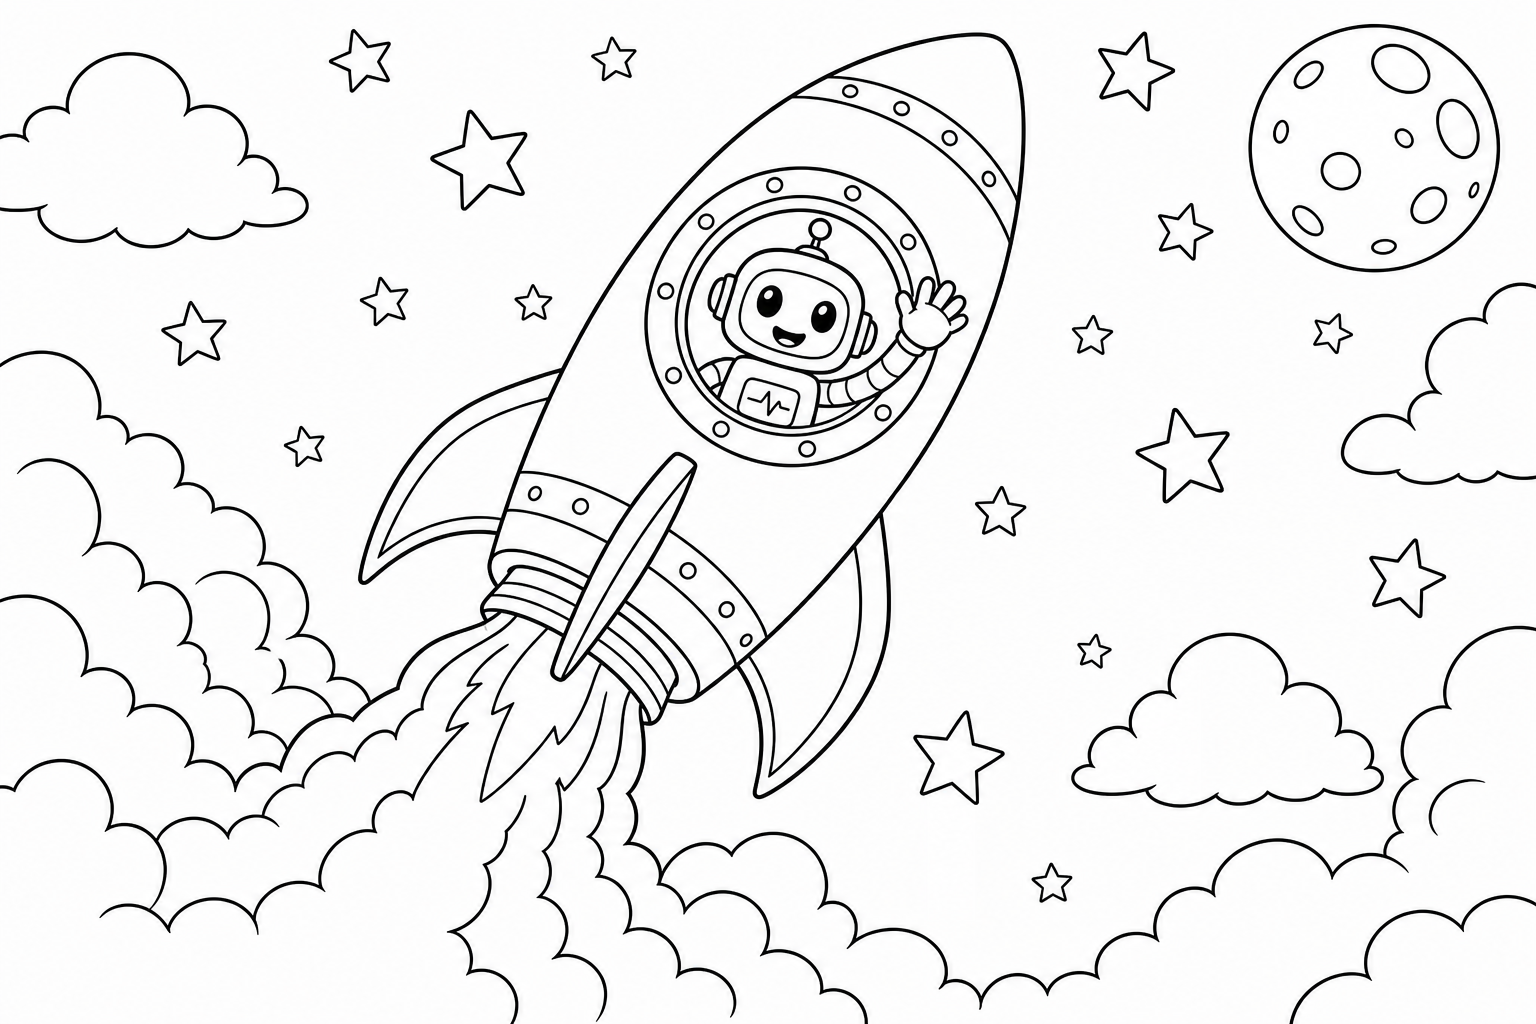
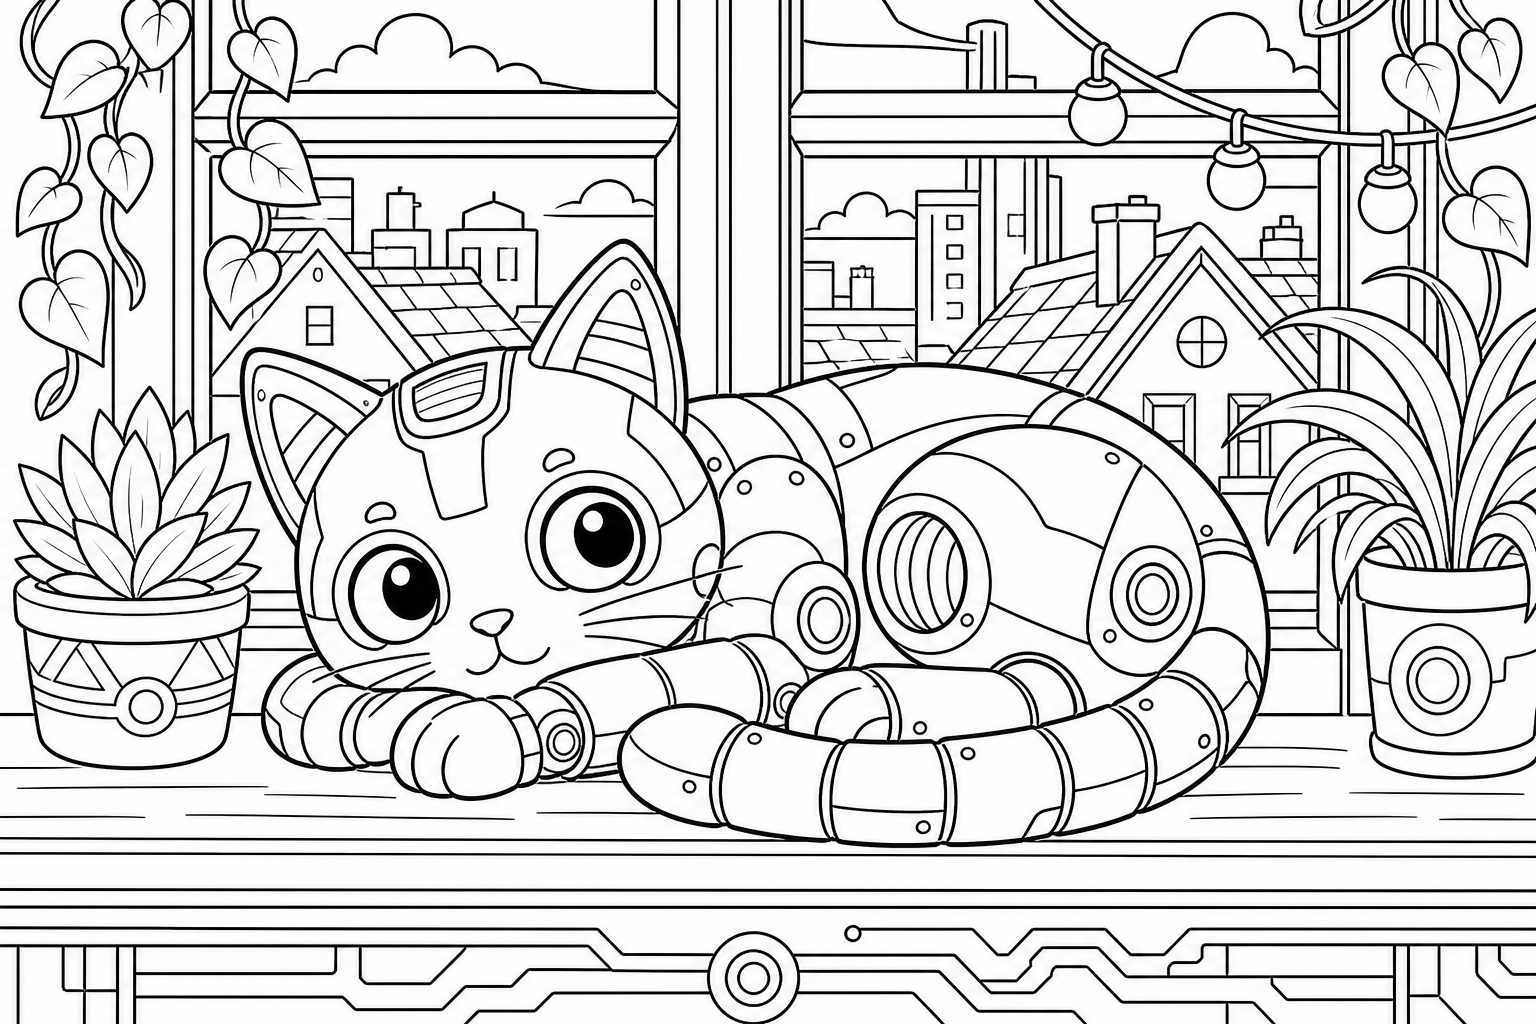
A robot without a job is just a sculpture. So ask before coloring: what does this one do all day? A robot dog needs a collar tag and mud on its paws. A kitchen bot collects flour dust and one honorable ketchup stain. A space rover comes home with sun-bleached panels and red dirt in its treads. The job tells you where the wear and tear goes, and wear and tear is what makes a machine look loved.
Step 3: Wire the colors
Here is the part a real engineer would recognize. Machines get color-coded so that anyone can read them later: which wires carry power, which parts move, which parts think. Your builder can do the same. Pick a rule, any rule. Warm colors for moving parts, cool colors for thinking parts. Or one signal color that only appears where the power flows.
Something happens when a kid colors by rule instead of by whim: the page stops looking colored in and starts looking designed. It is the same quiet precision work we described in how coloring builds focus and steady hands, just wearing safety goggles.
Step 4: Switch it on
Every machine needs a name before it leaves the workshop. Let the builder write it on the back of the page, with a serial number if they are feeling official. Named robots get colored with noticeably more care. Then hang the finished spec sheet somewhere the engineering department can review it, ideally at fridge height.
If the workshop needs more machines, these searches are a good runway:
What else could you color?
Pick a prompt or type your own — opens in a new tab.


Coloring fun for kids — anywhere.
Free for iOS & Android. No ads, no sign-up, offline-ready.
Coloring fun for kids — anywhere.
Free coloring app for kids. iOS and Android, phones and tablets. No ads, no sign-up, even offline.
Ready for the assembly line
The whole collection in one place. Print a few, line them up, and let the engineering department argue about which chassis is fastest.